The Process

My making process combines hand-drawn design, mould-building, slip-casting, and precise firing. These stages create ceramics that balance structural integrity, refined surfaces, and functional, design-led form.
EXPLORING SHAPES & FORM
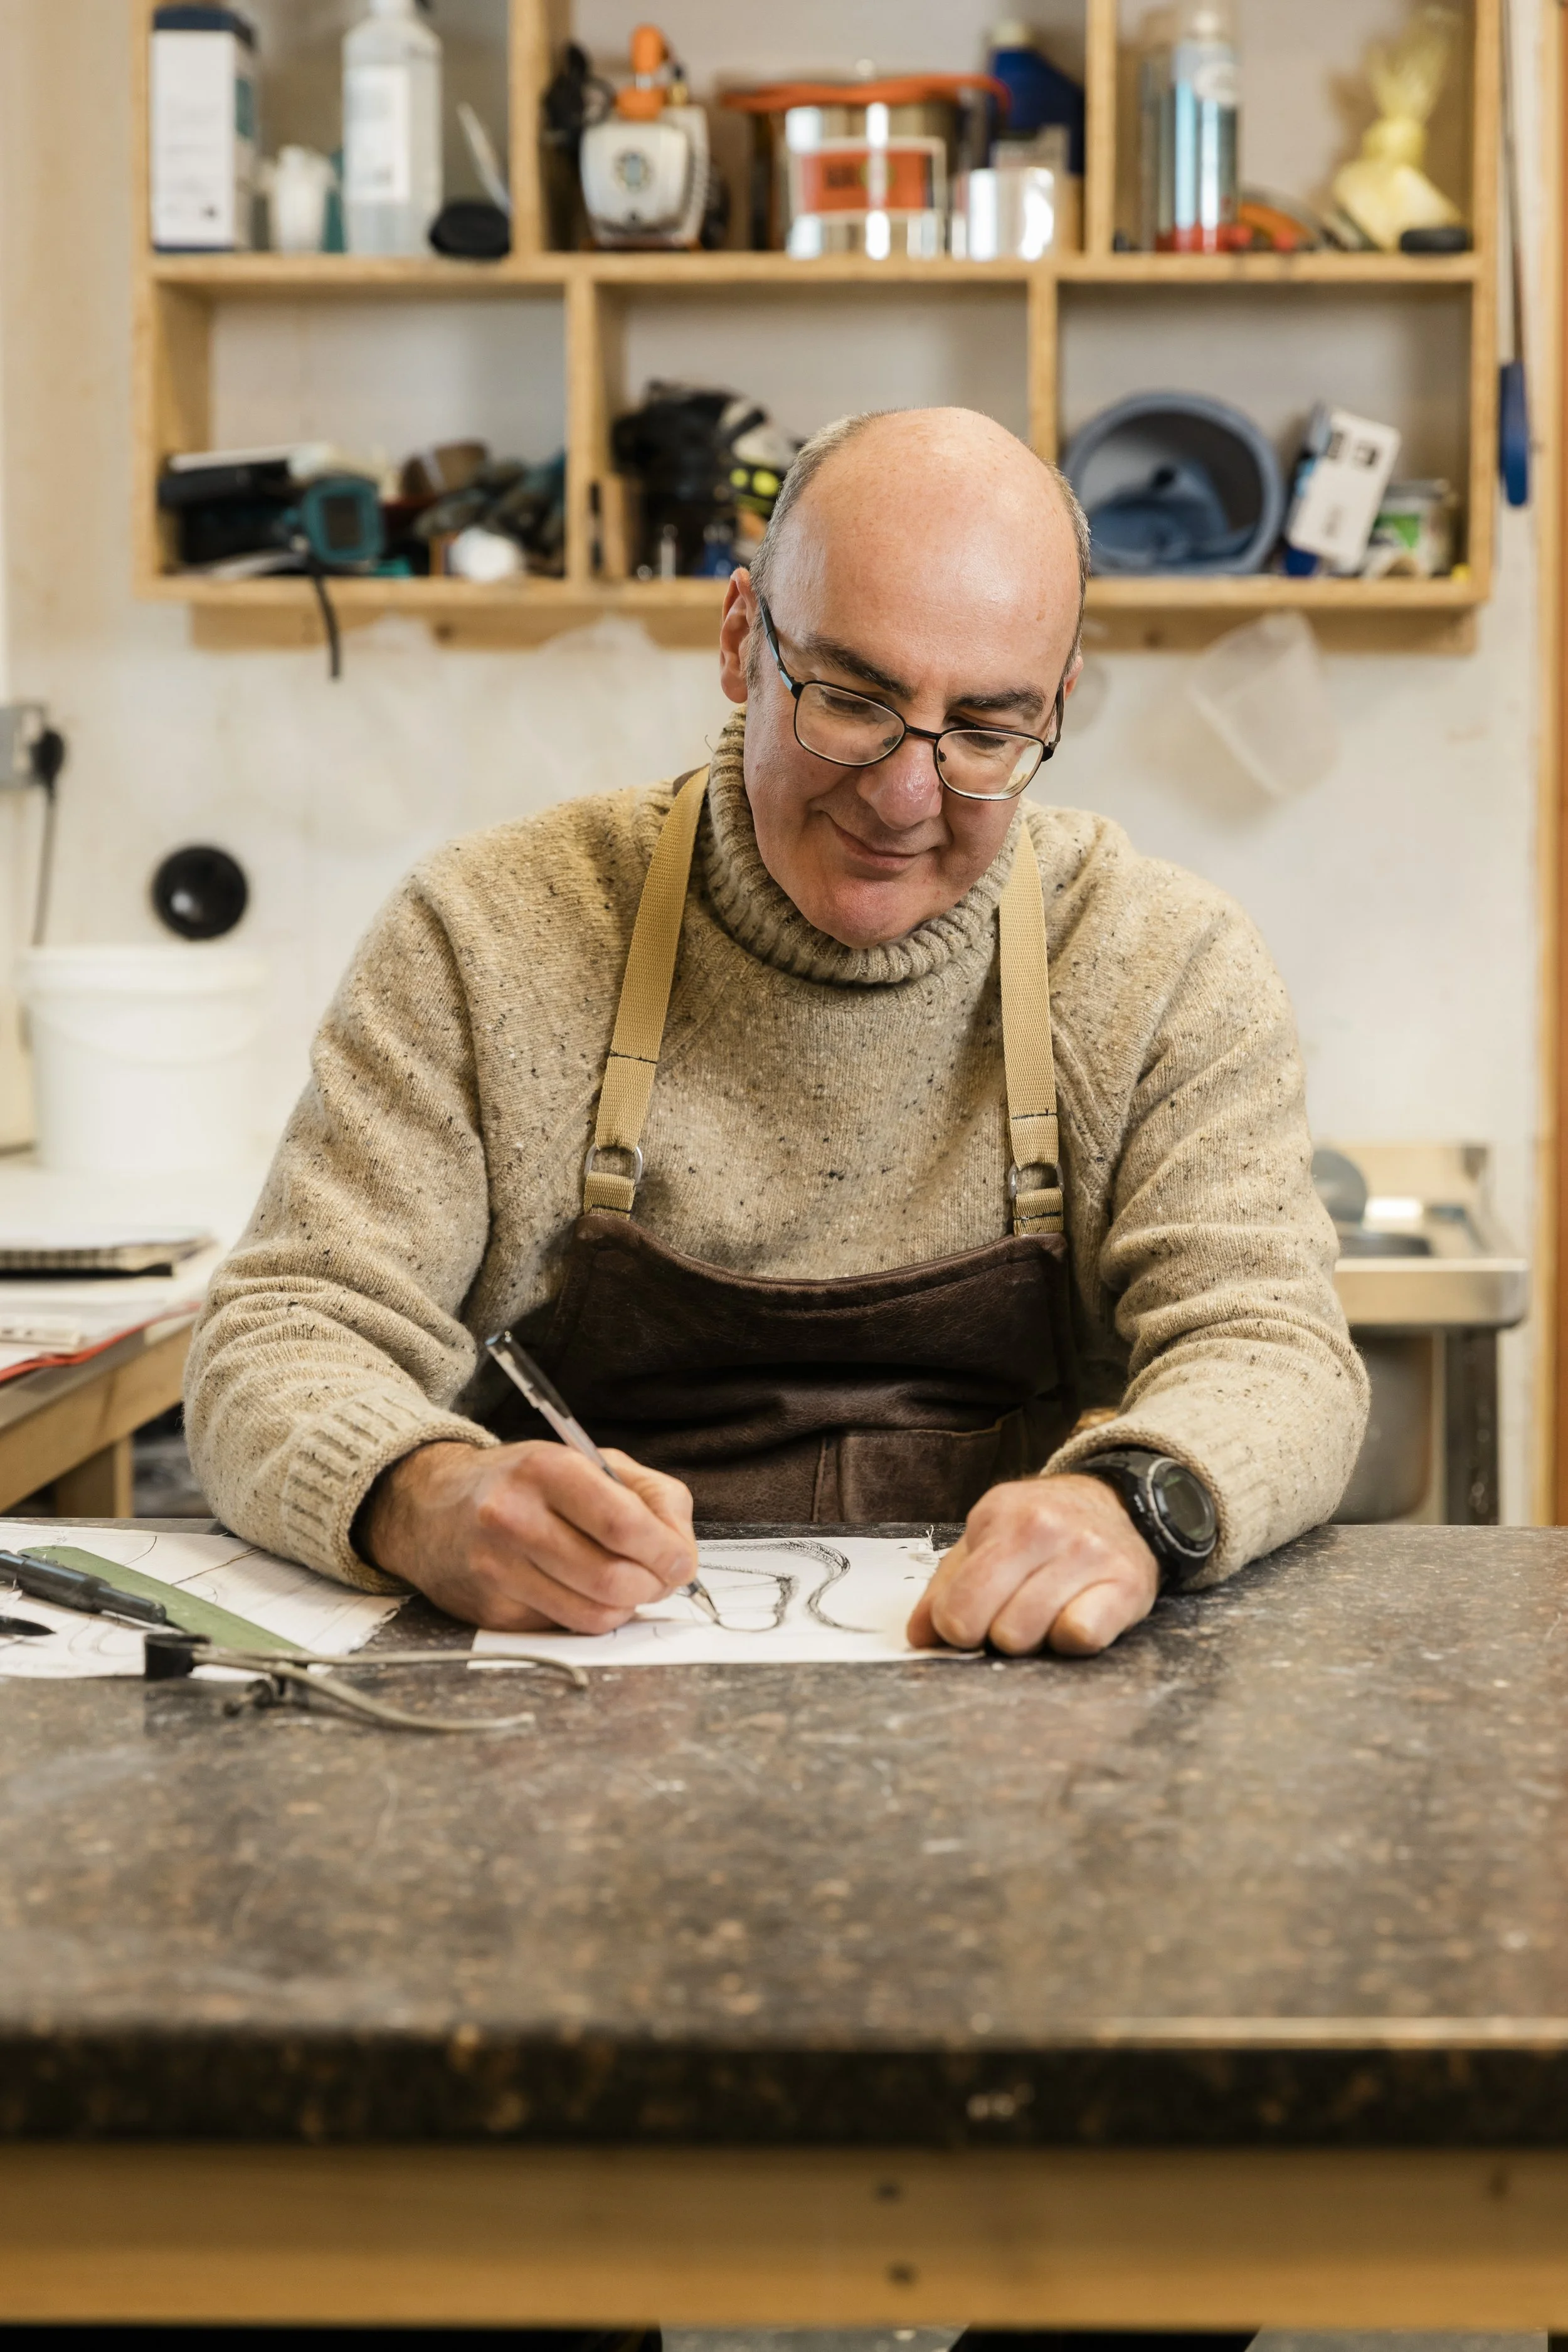
1. Sketching & Concept Design
Every piece begins with hand-drawn sketches — exploring shapes, balance, and form. These early drawings guide the design process and help refine ideas before moving into model building.
PROTOTYPE PRODUCTION
2. Model Fabrication
A physical model is produced either in hand-built plaster or through 3D-printed prototypes, allowing assessment of volume, symmetry, and casting suitability.
"Mould-building and slip-casting allow me to create forms with complete freedom — without the formal constraints of wheel-throwing. Each mould defines the shape; the liquid clay reproduces it exactly. Precision, repeatability, and craft form the foundation of my studio-made ceramics."
Arra Fletcher
CAPTURING EVERY DETAIL
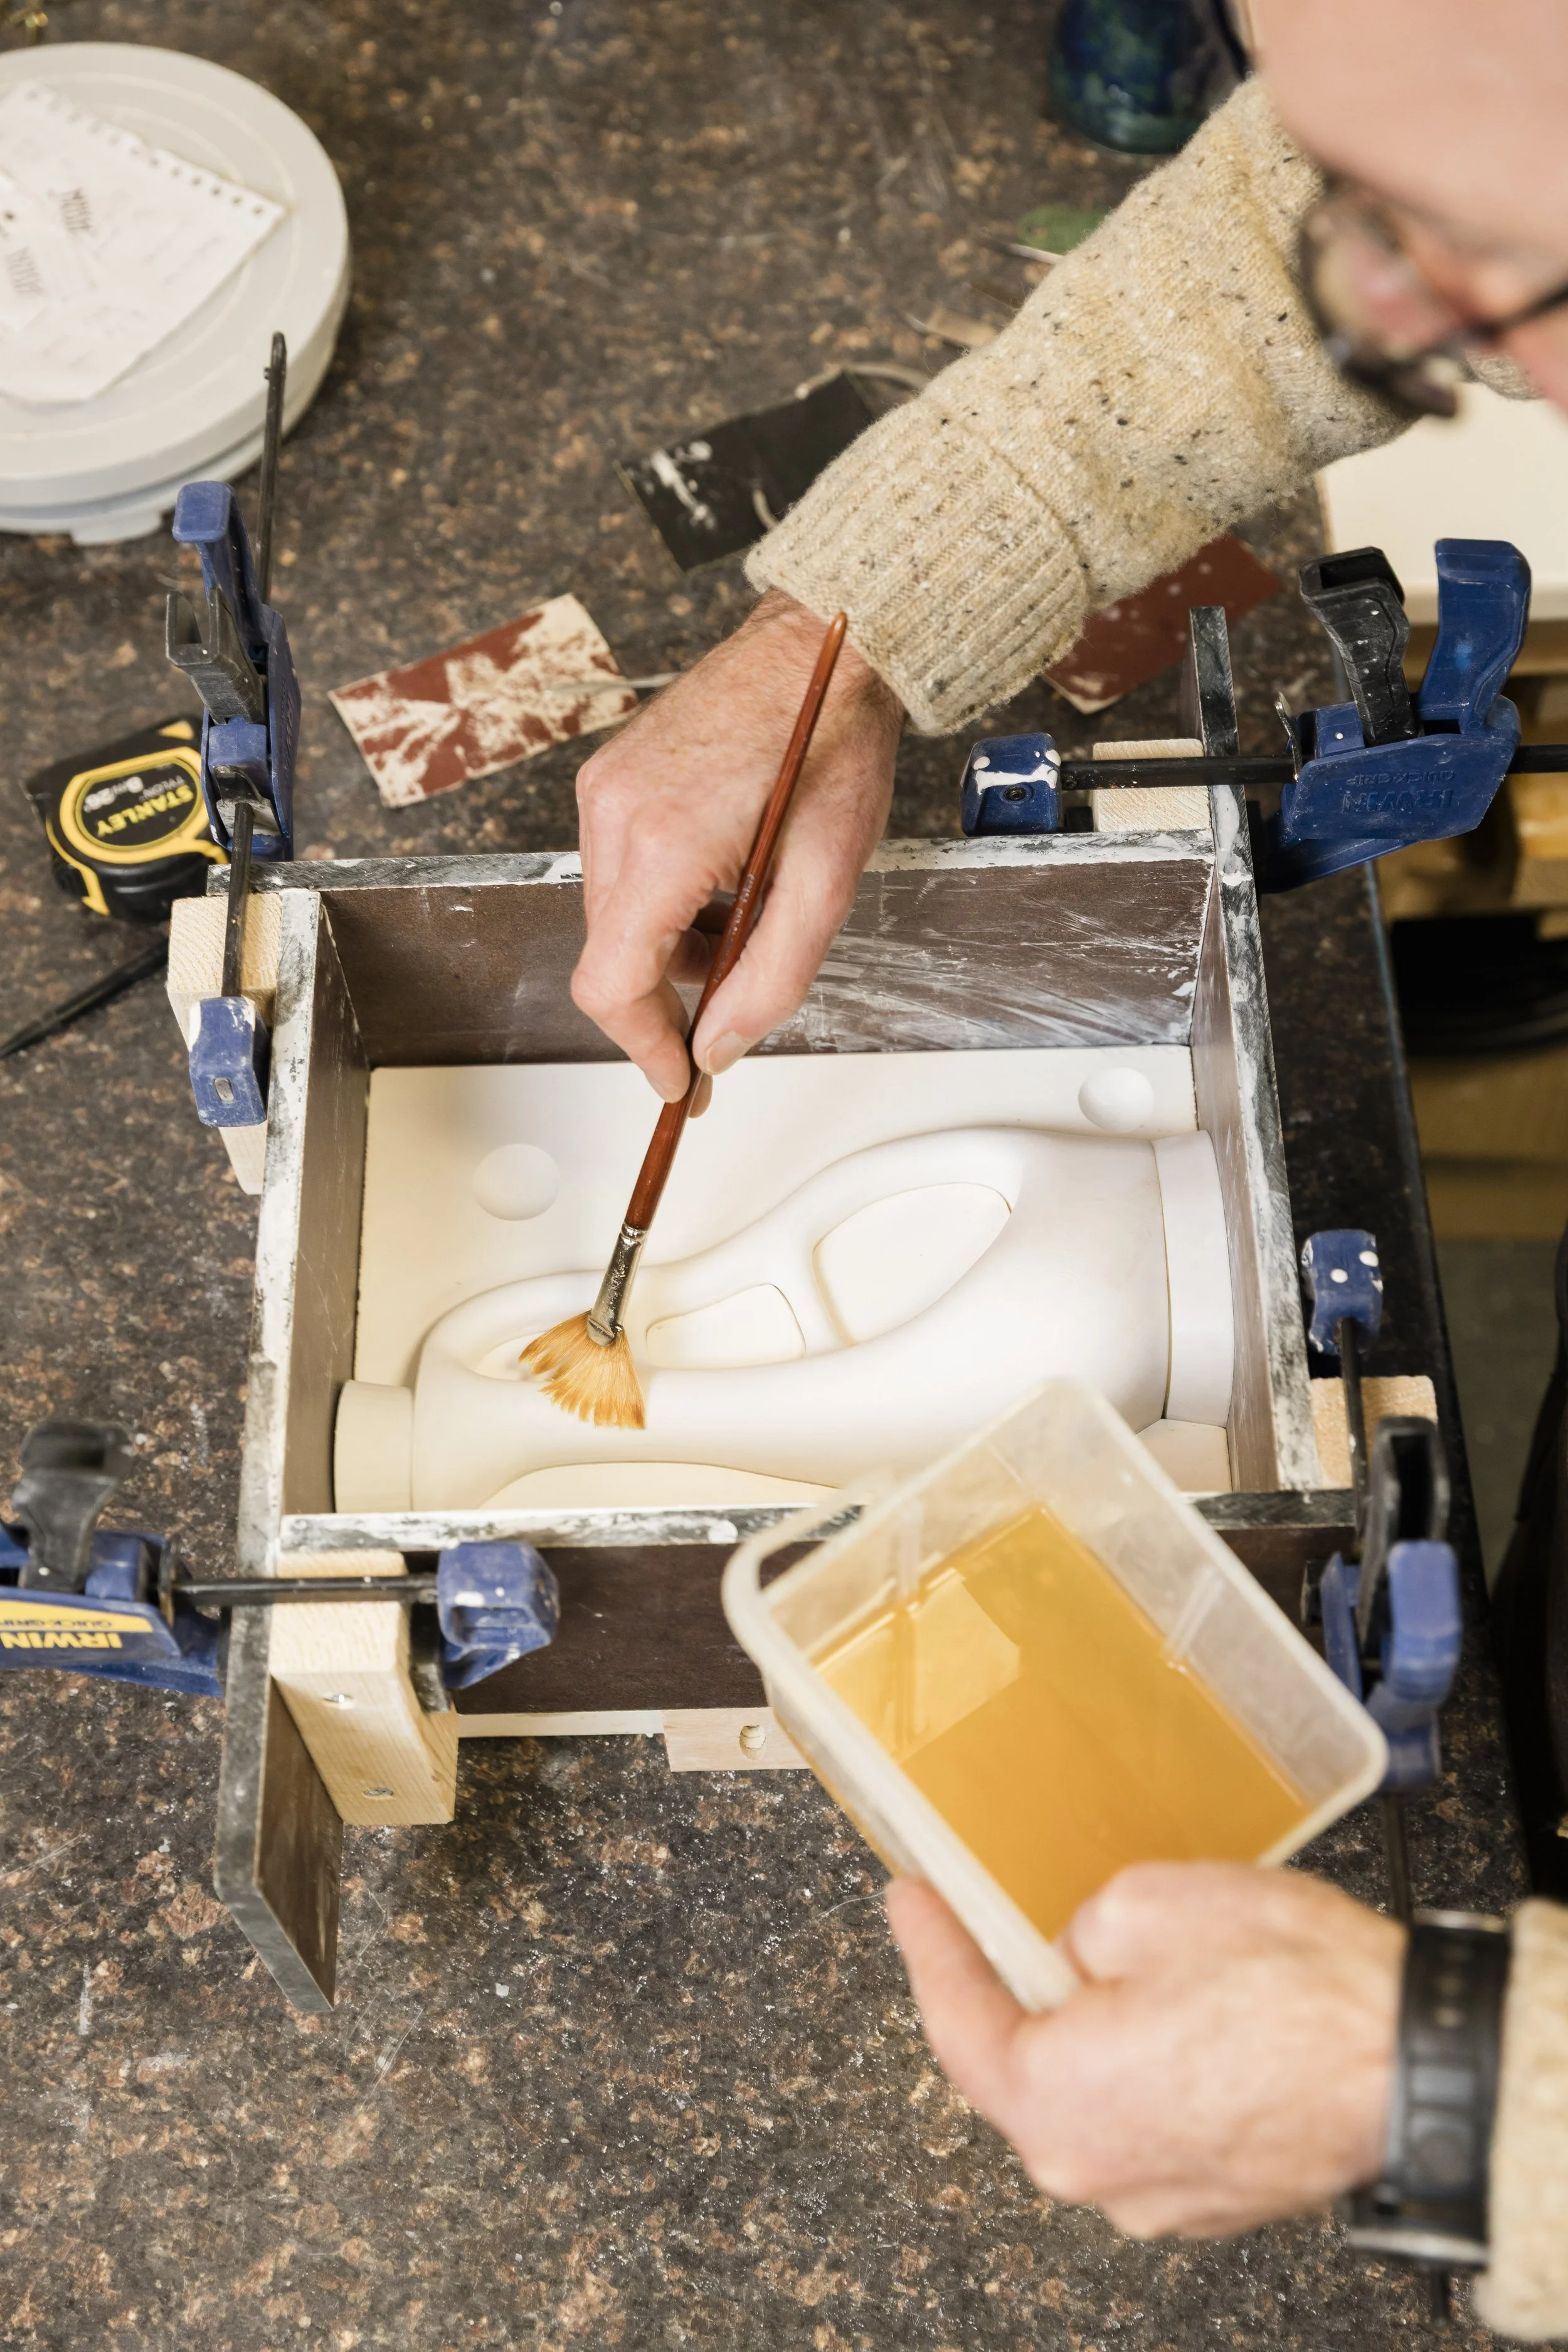
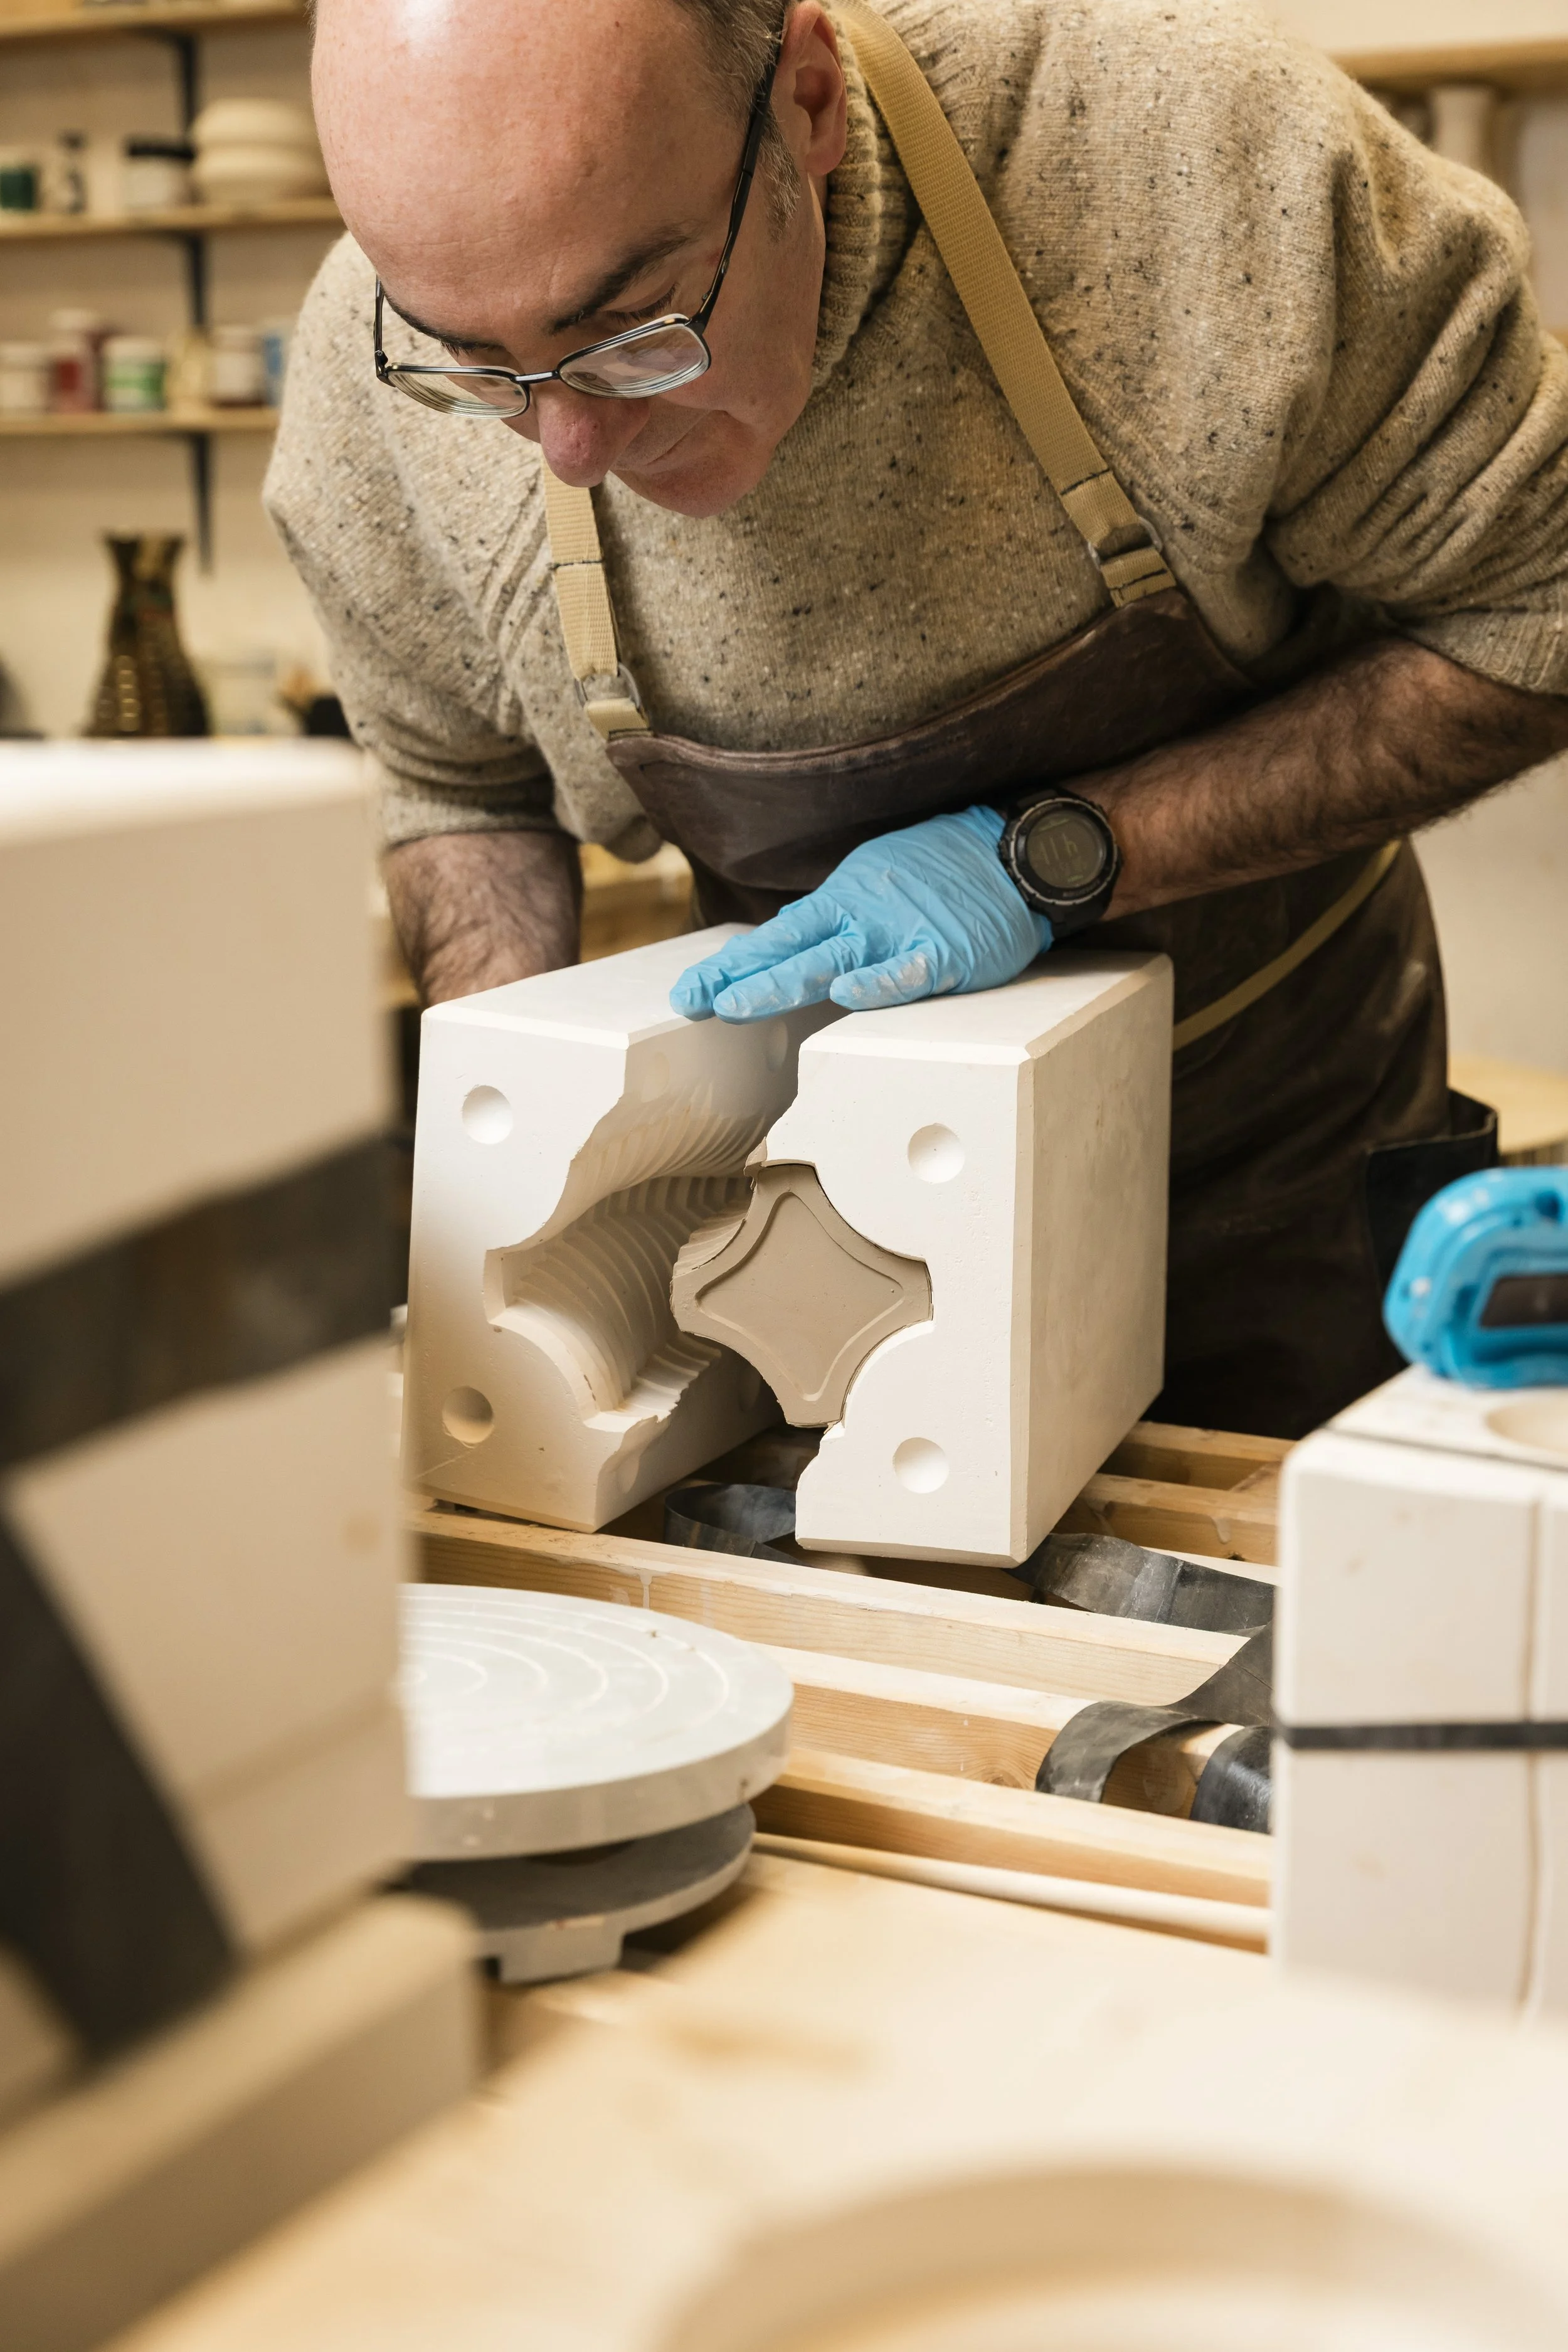
3. Mould-Making
A plaster of Paris mould is cast around the model, capturing every curve and surface detail. This mould becomes the foundation for the slip-casting process that follows.
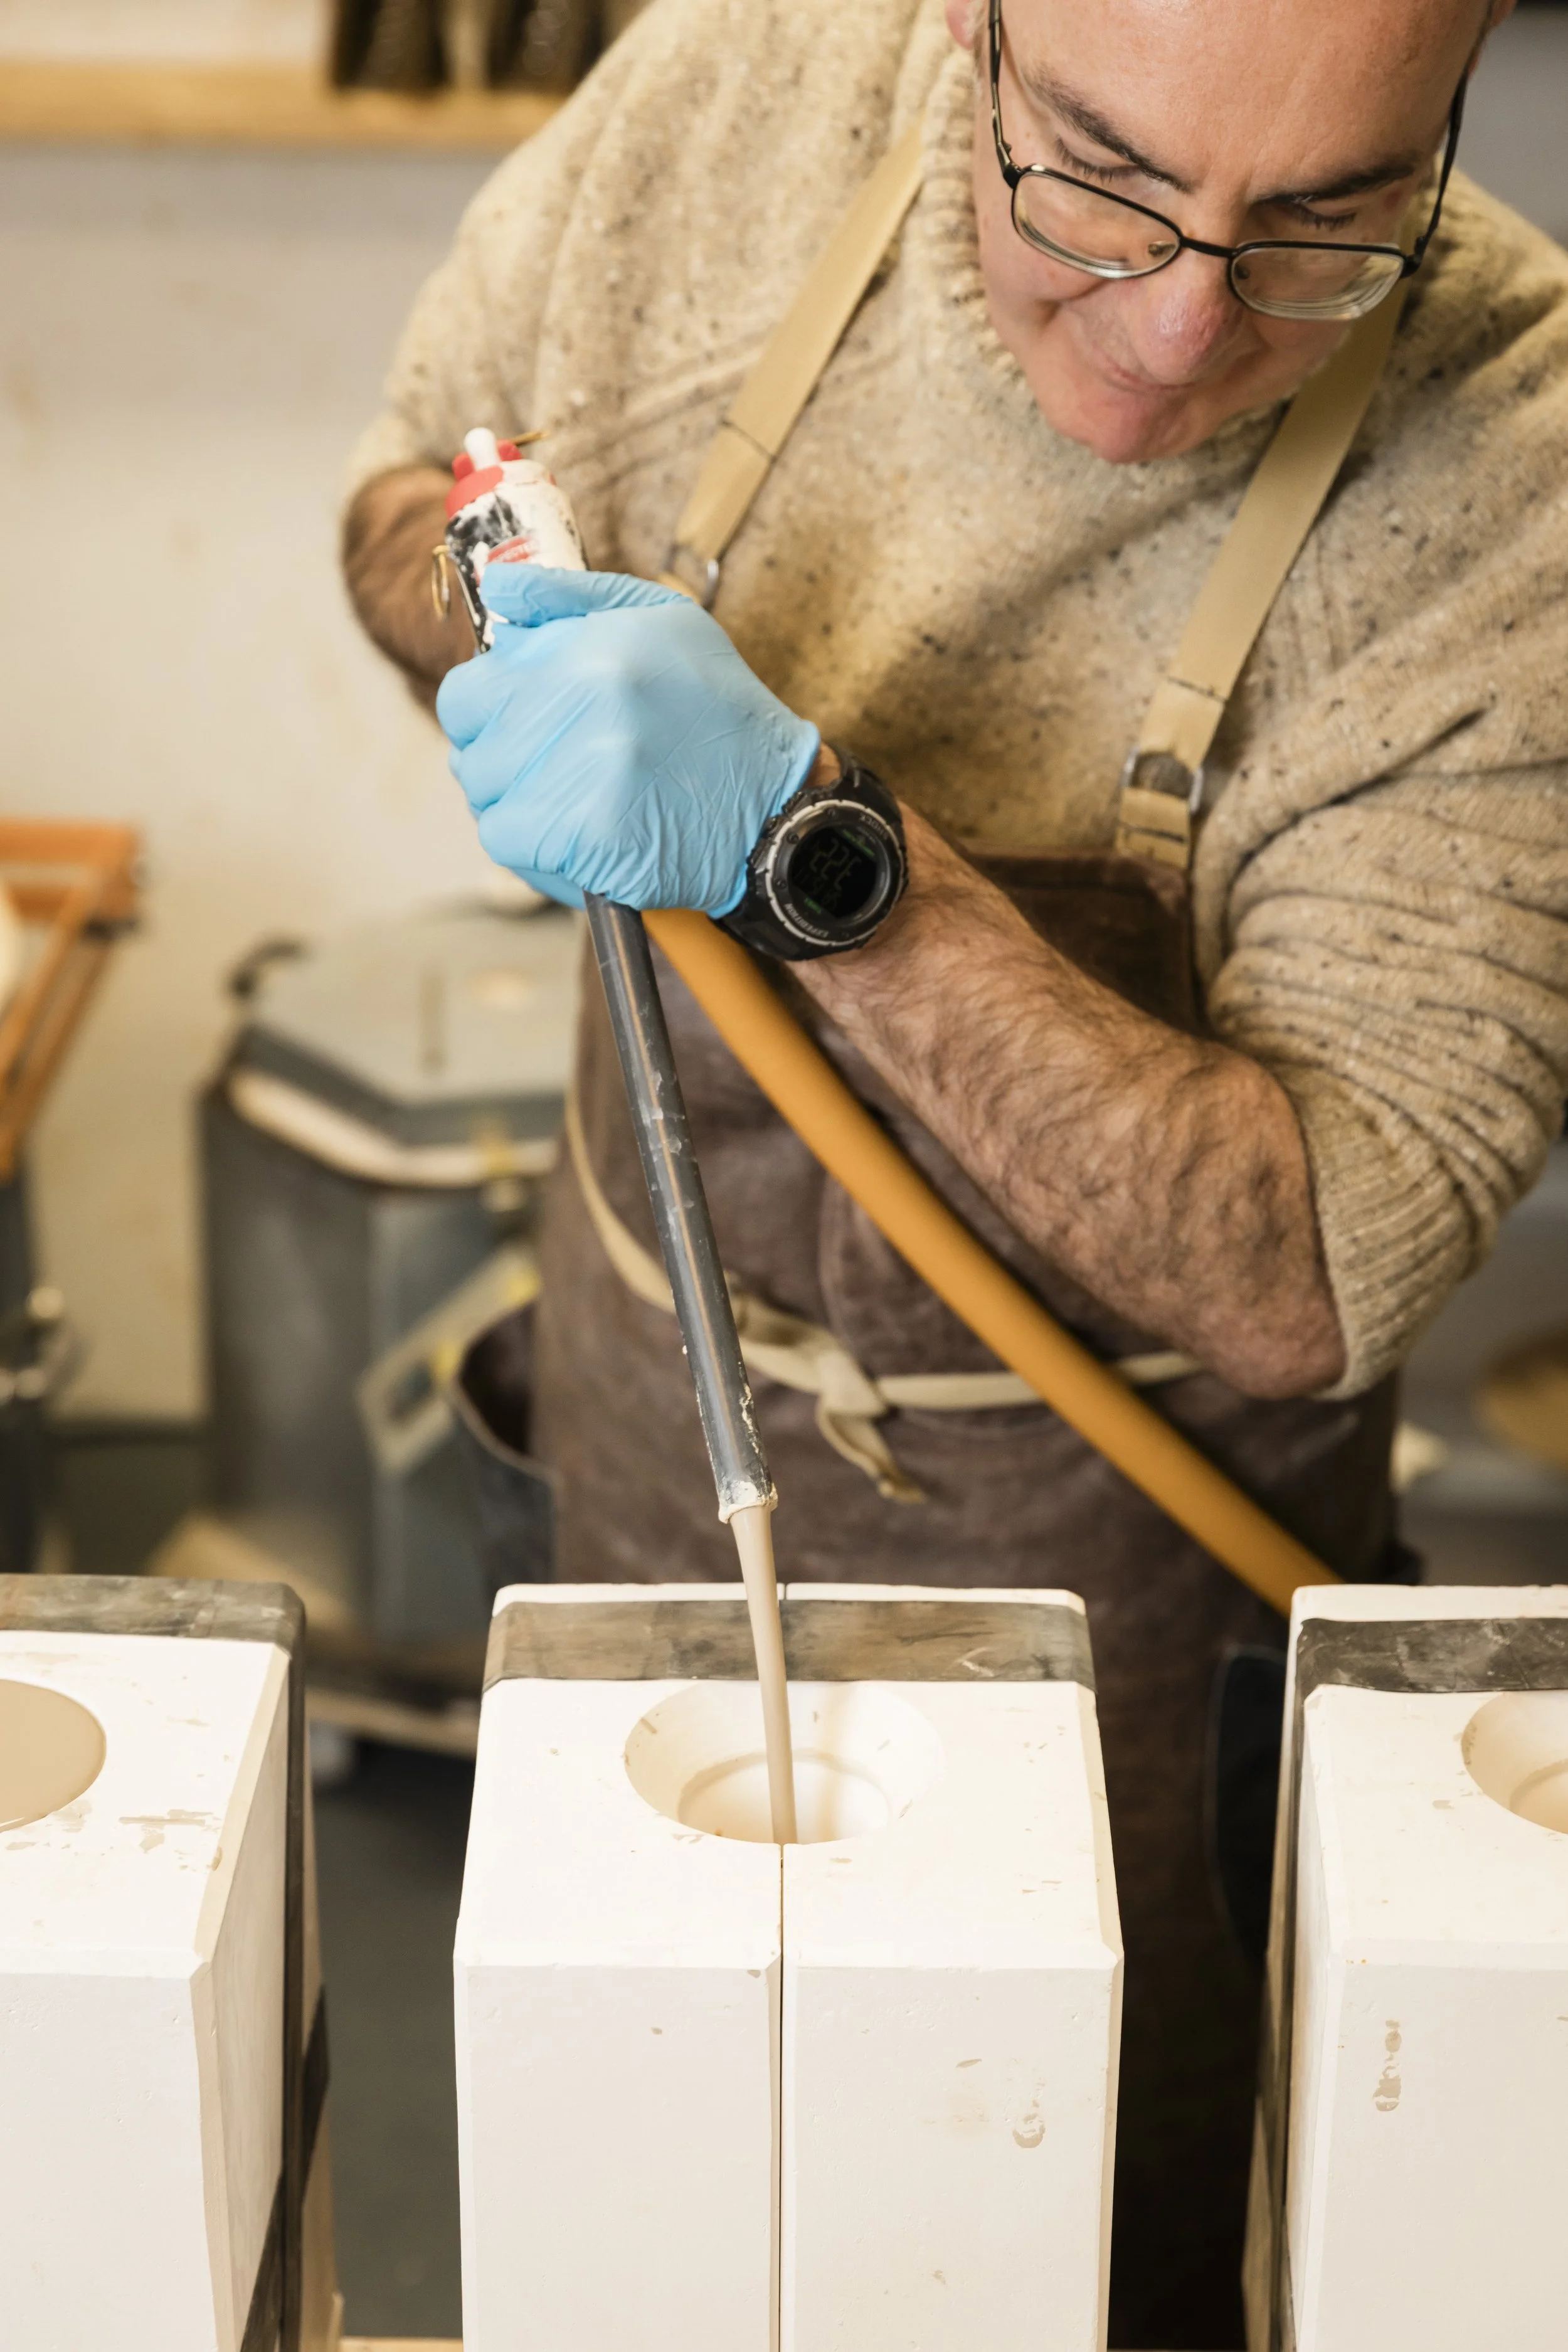
4. Slip Casting
Once dry, the mould is filled with liquid clay (slip) and left to form its walls. After a pre-determined amount of time, the excess clay is poured away, leaving a hollow cast.
5. Demoulding & Drying
Once leather-hard, the cast is removed and air-dried overnight. This stabilises the form before refinement.
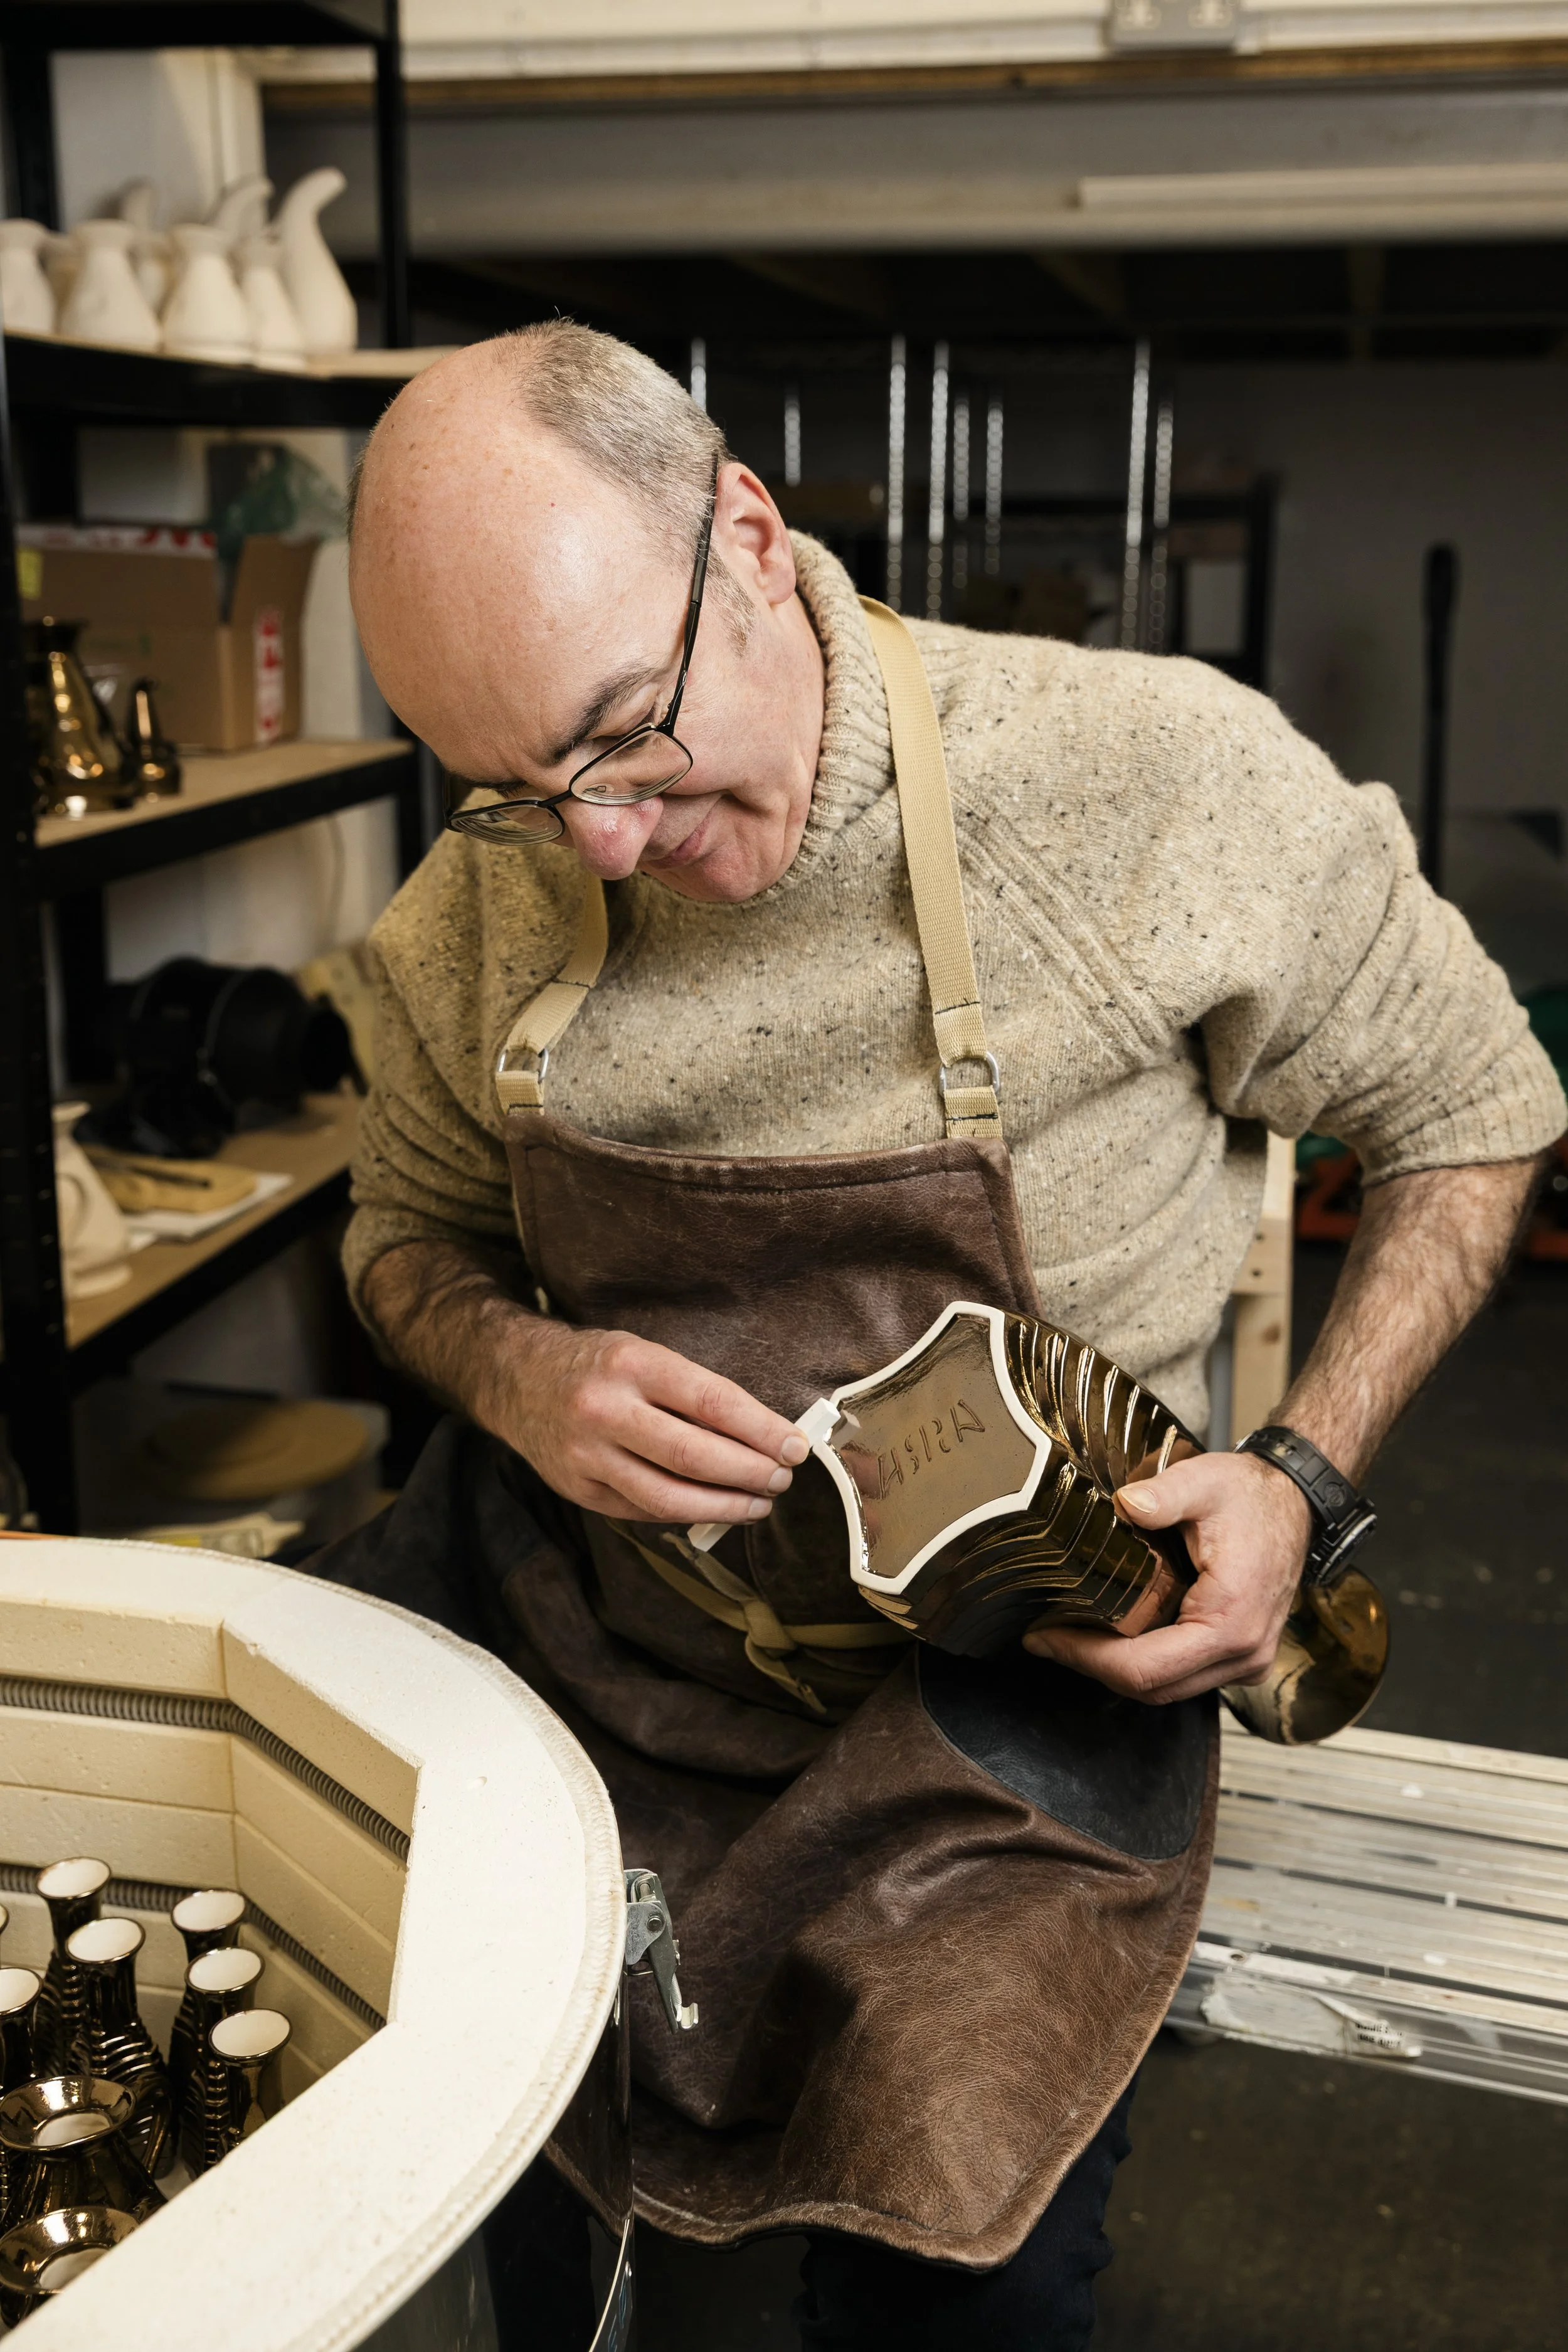
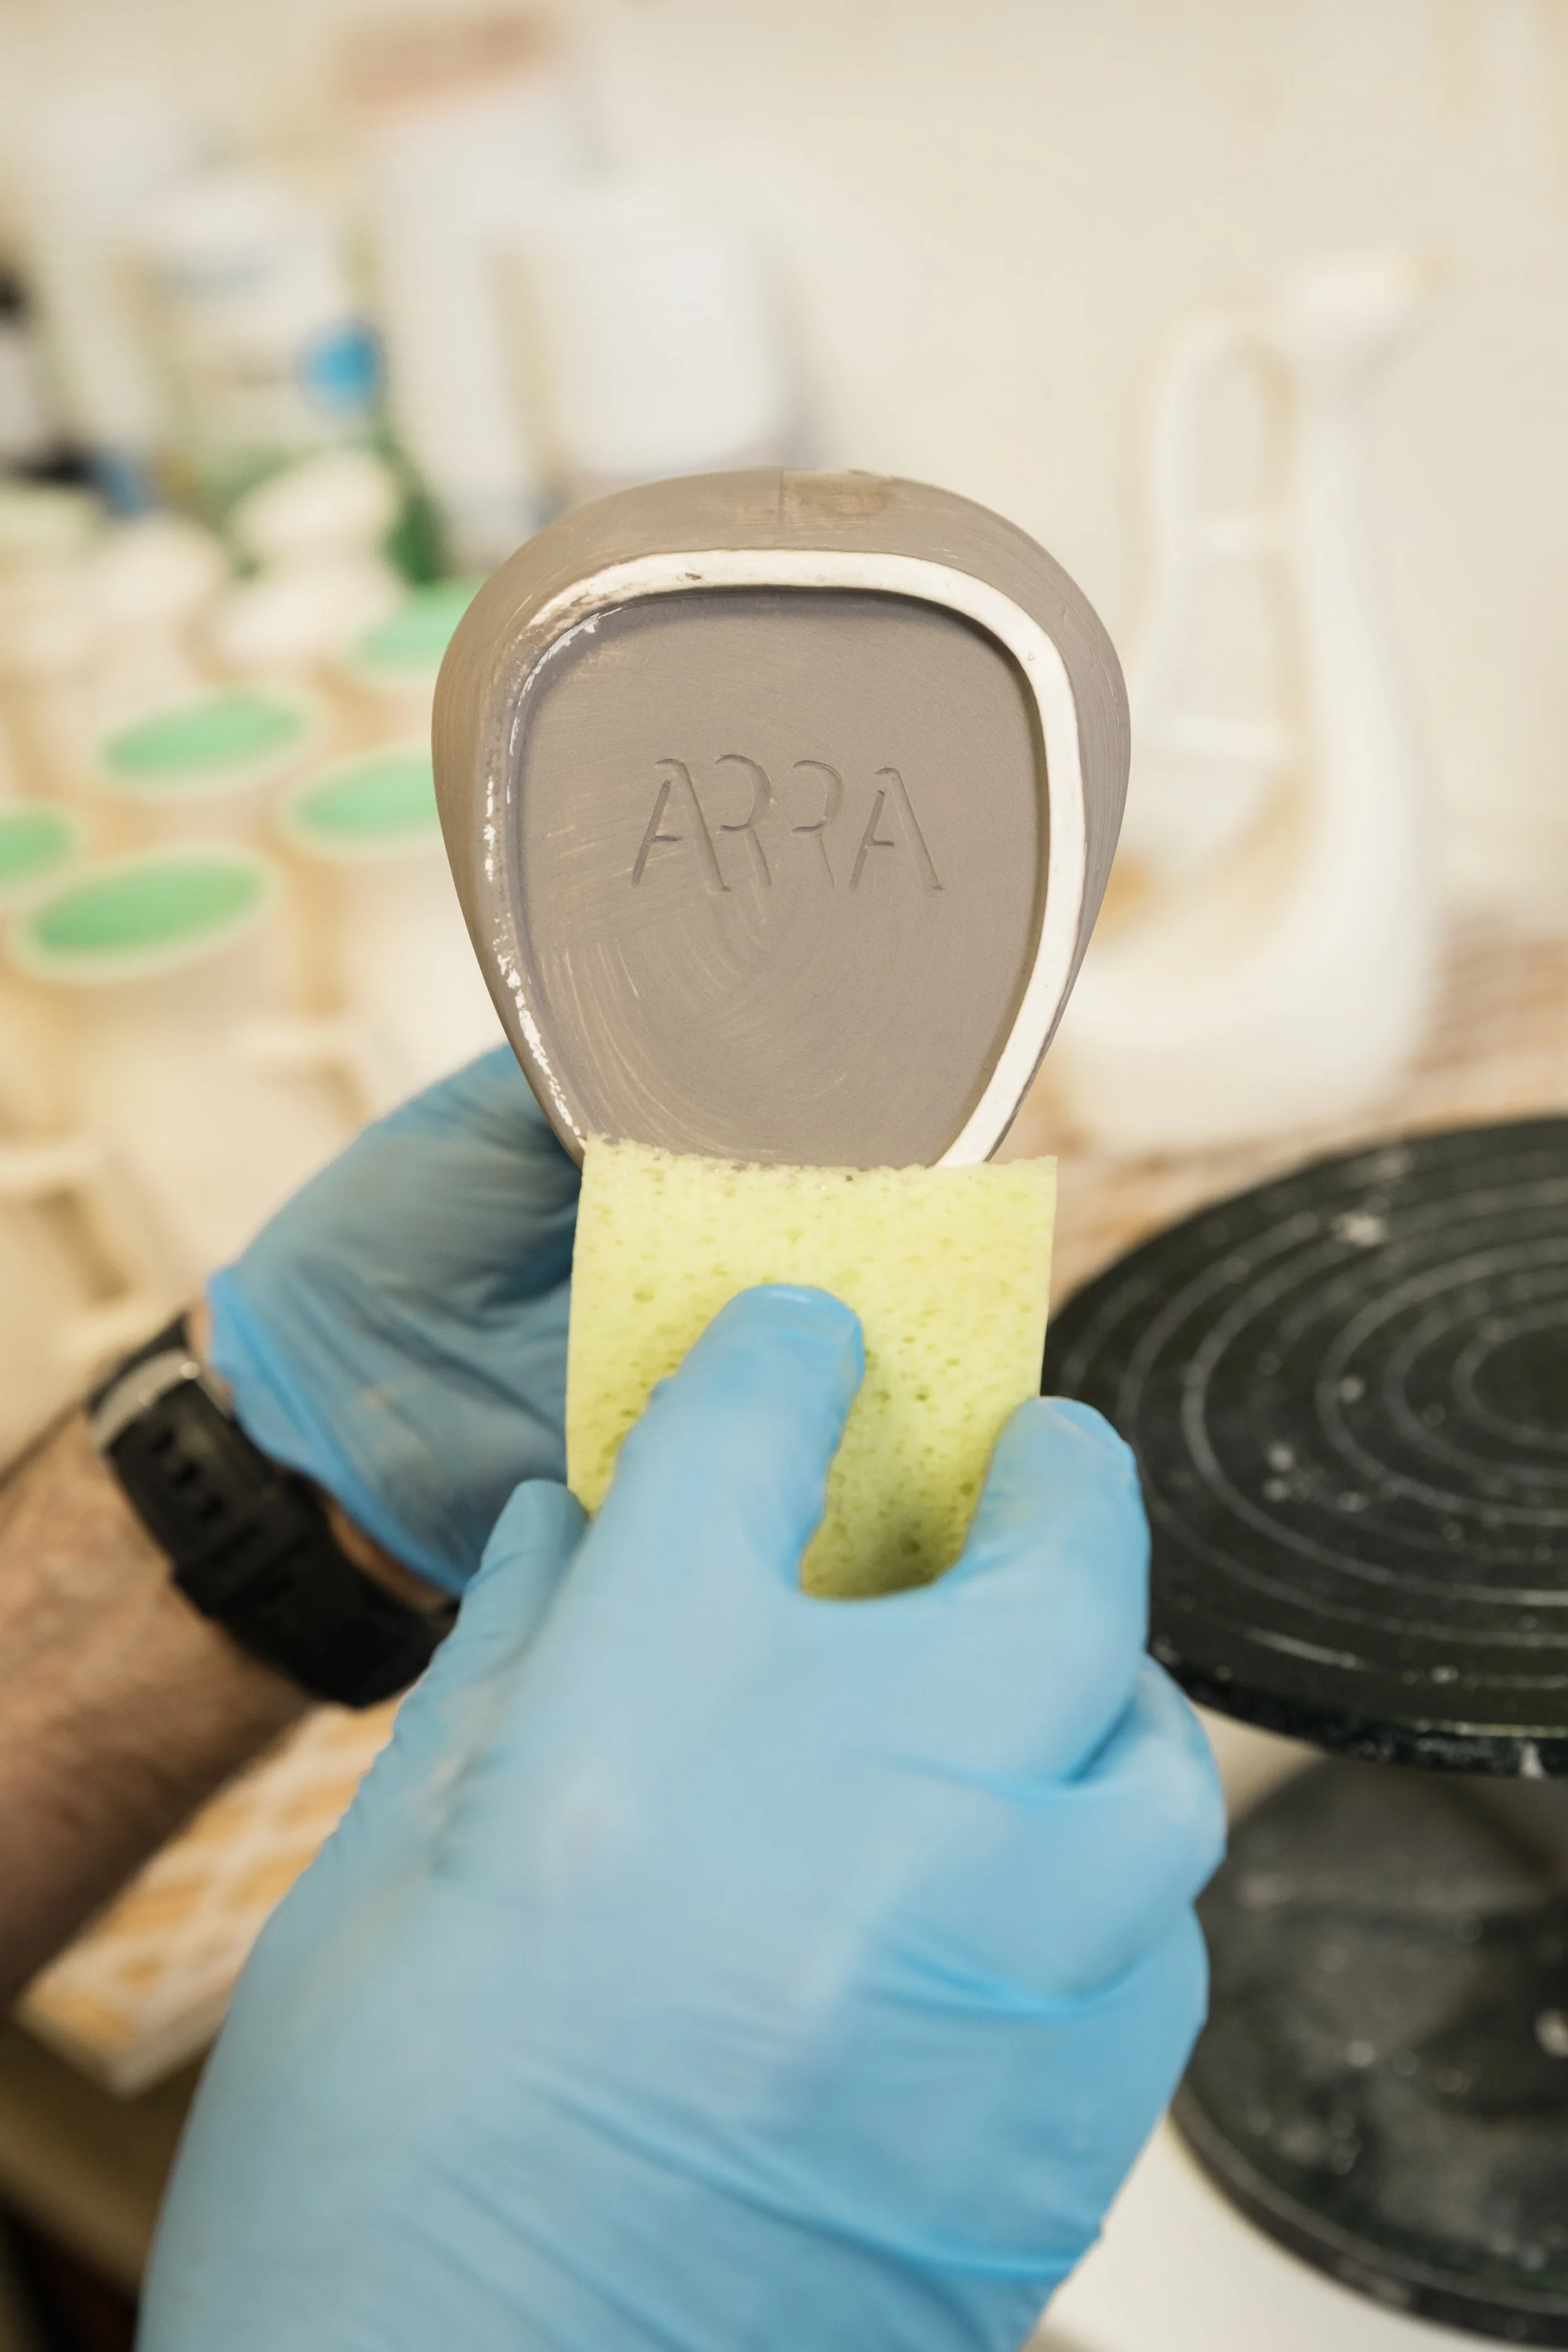
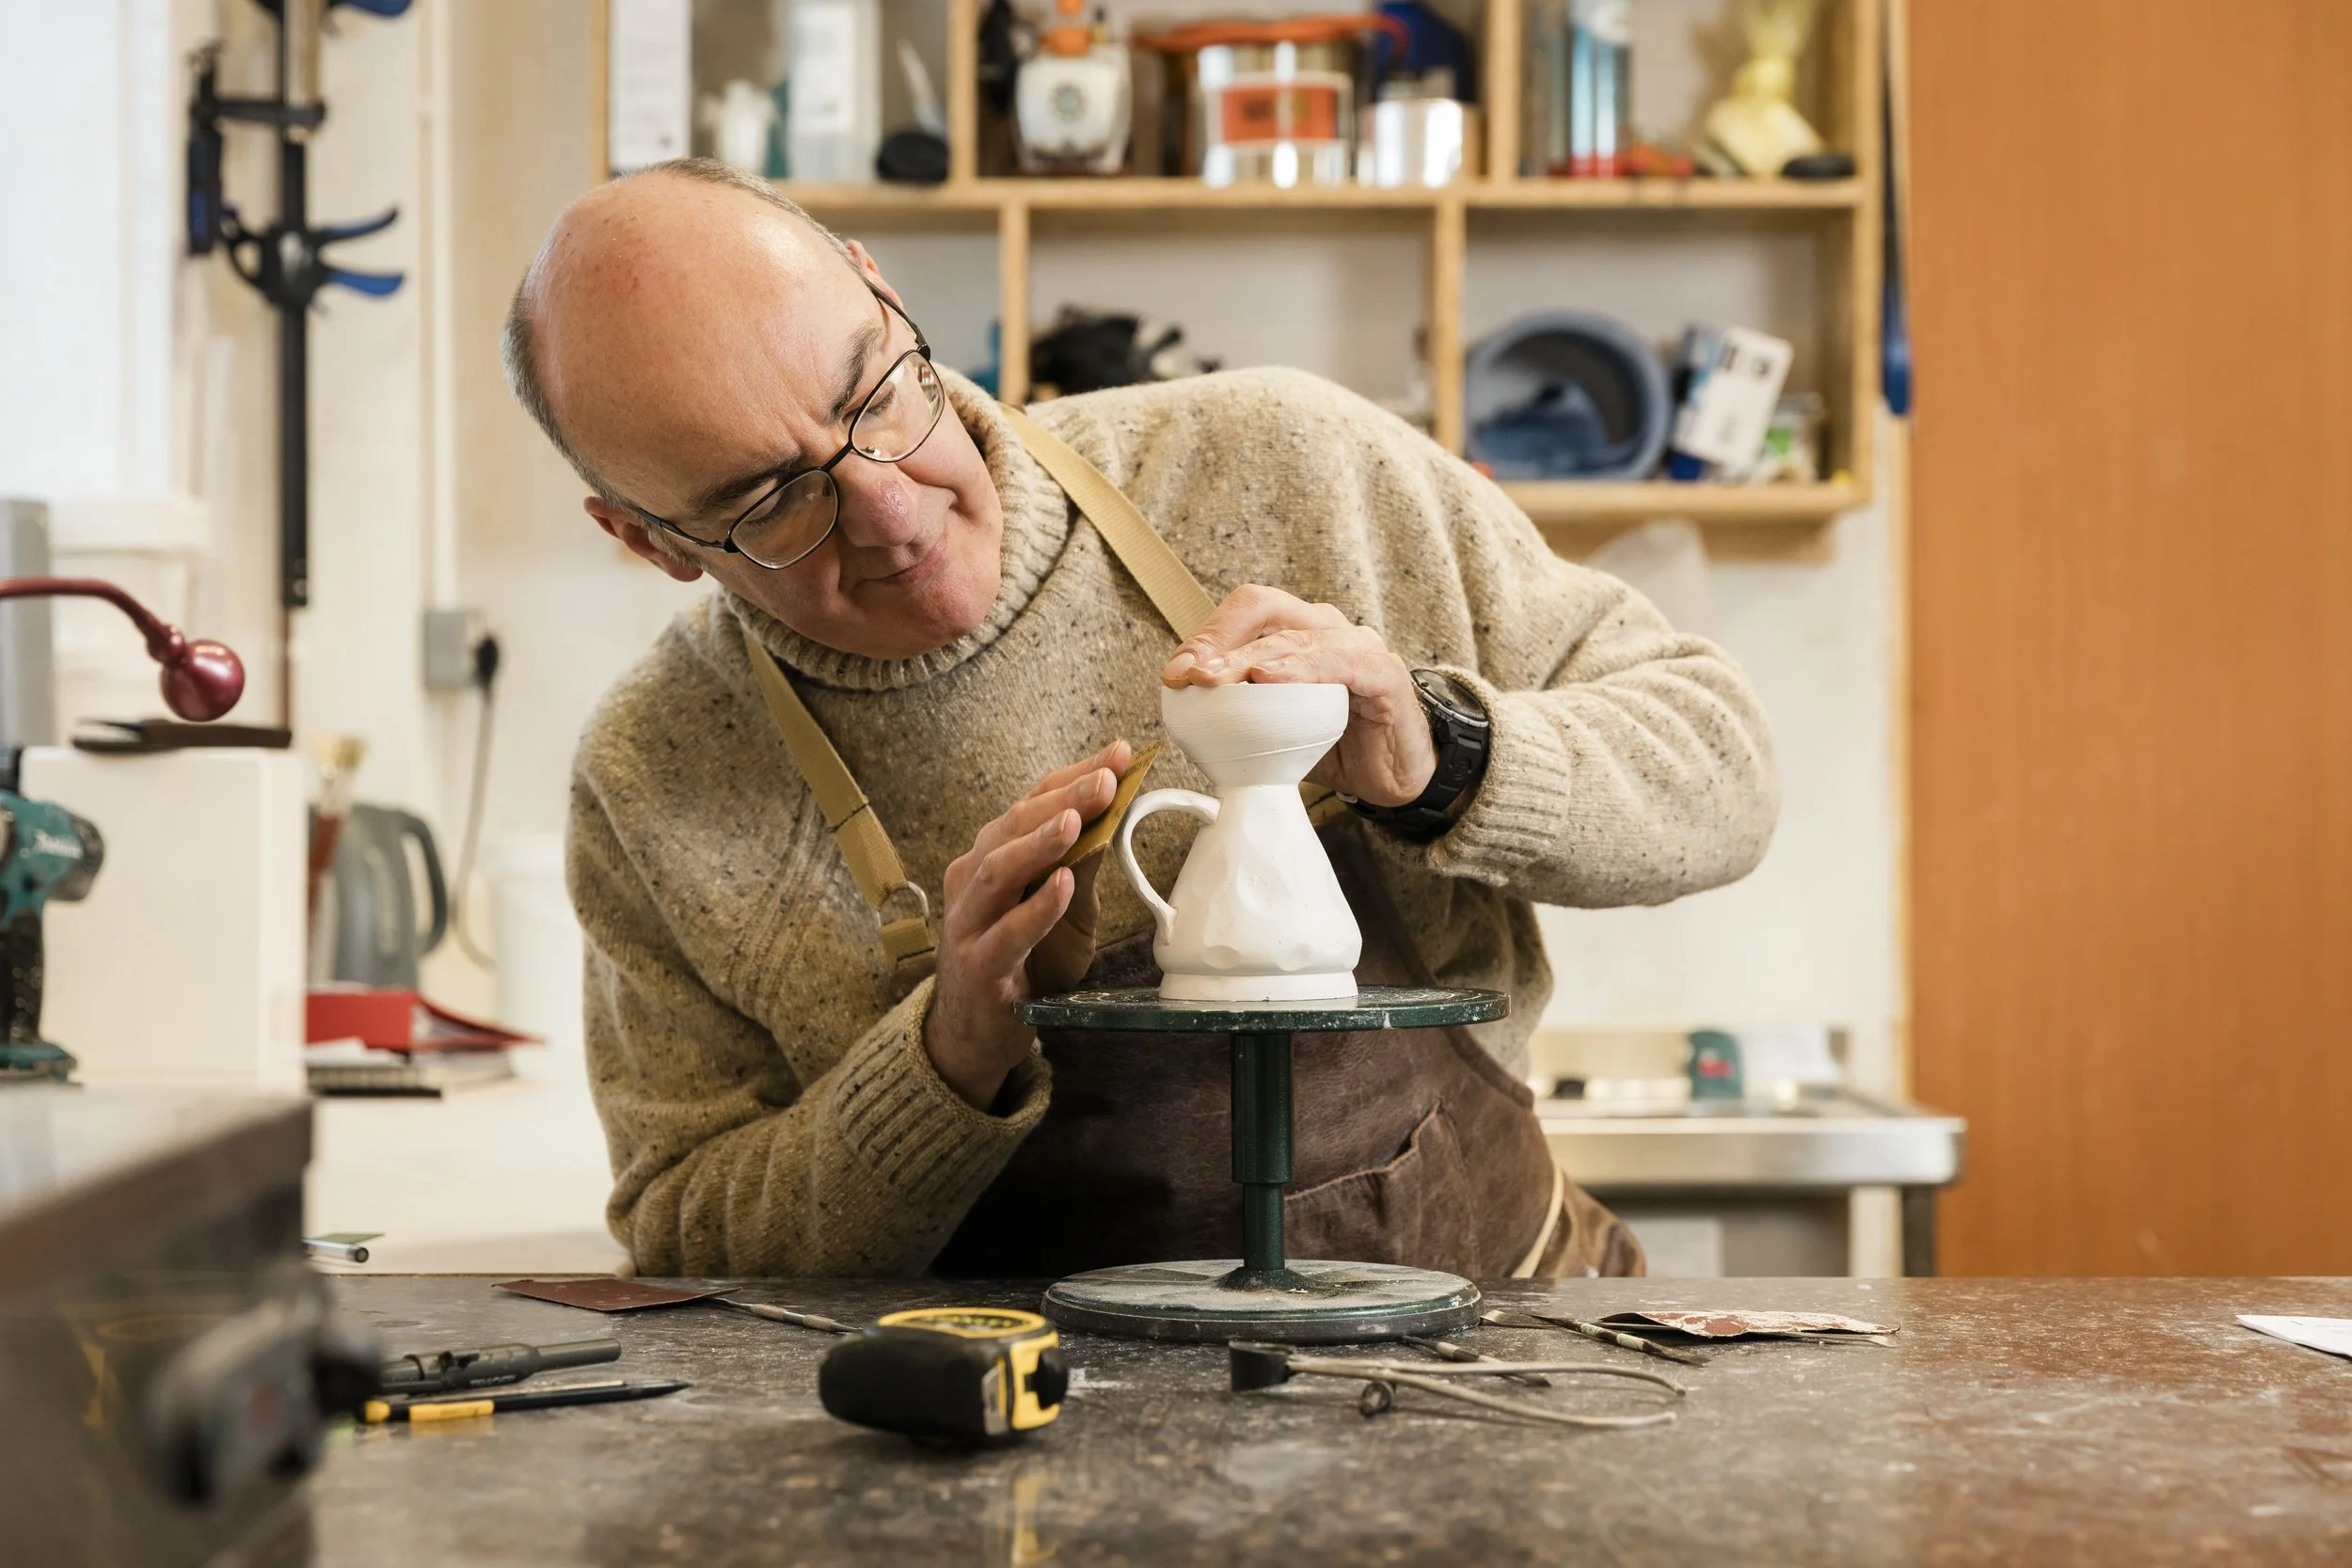
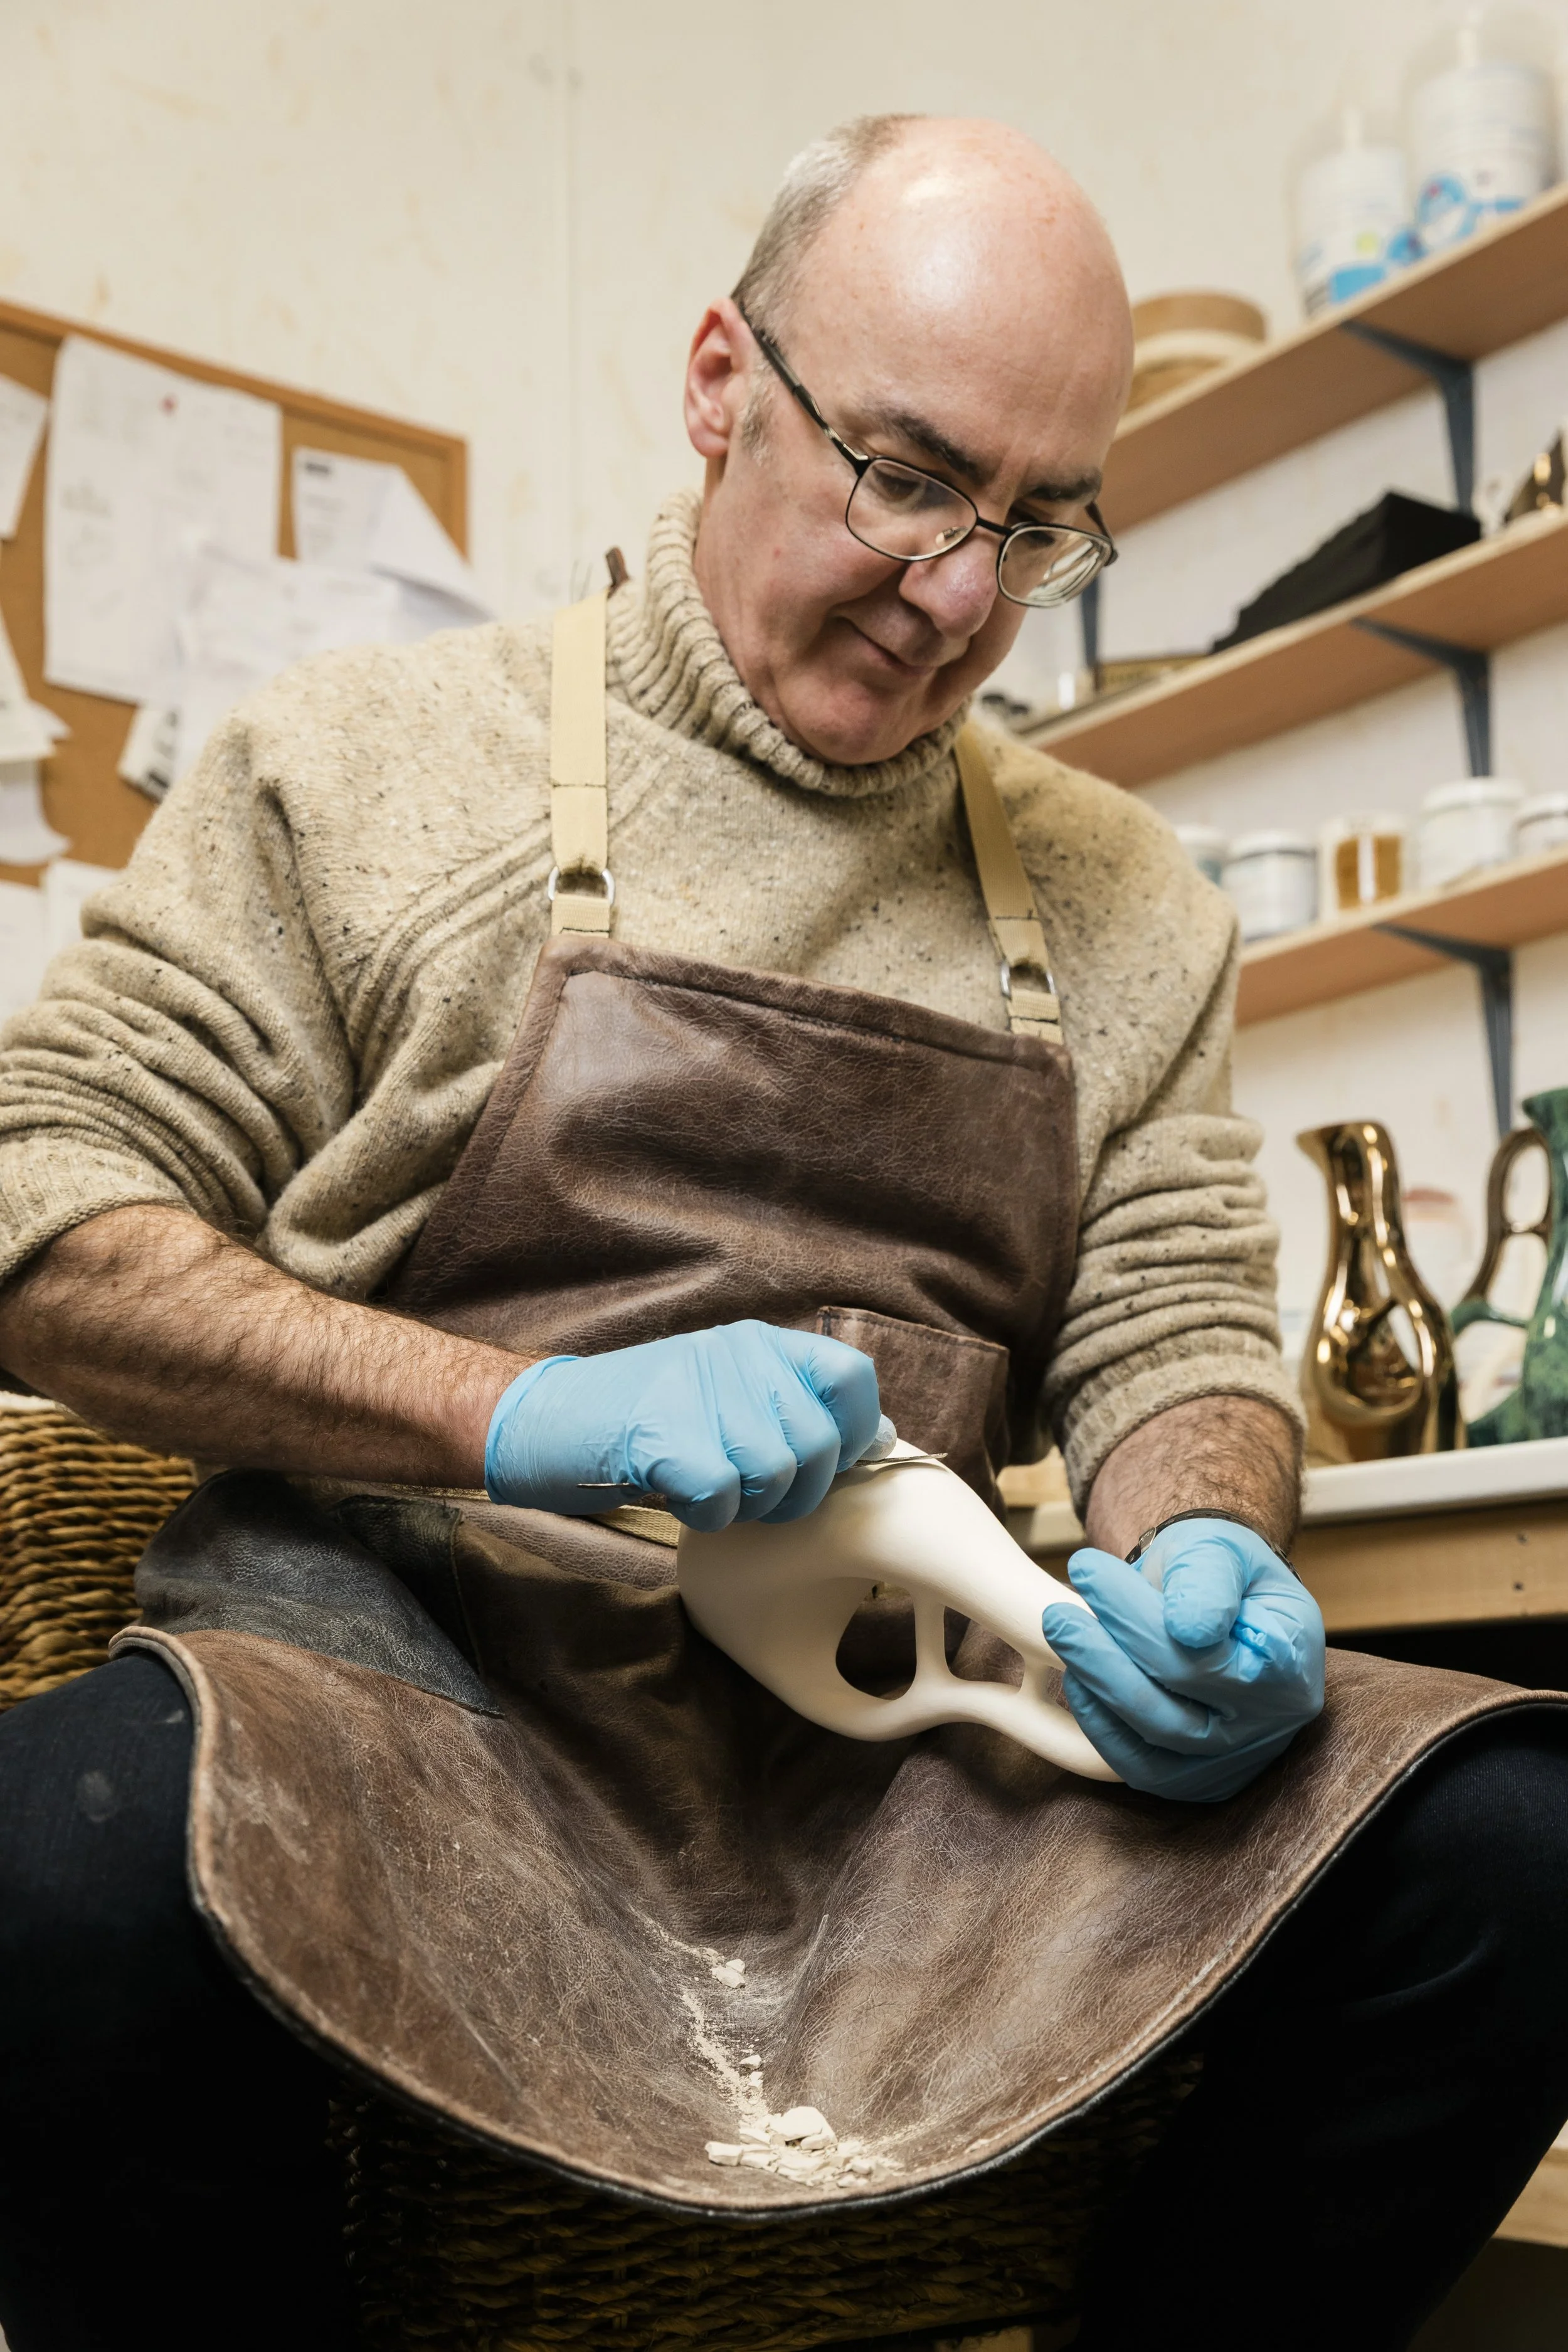
6. Fettling & Refining
Seams and casting lines are carefully removed with small tools and sponges. This fine handwork ensures smooth surfaces and clean edges before the first firing.
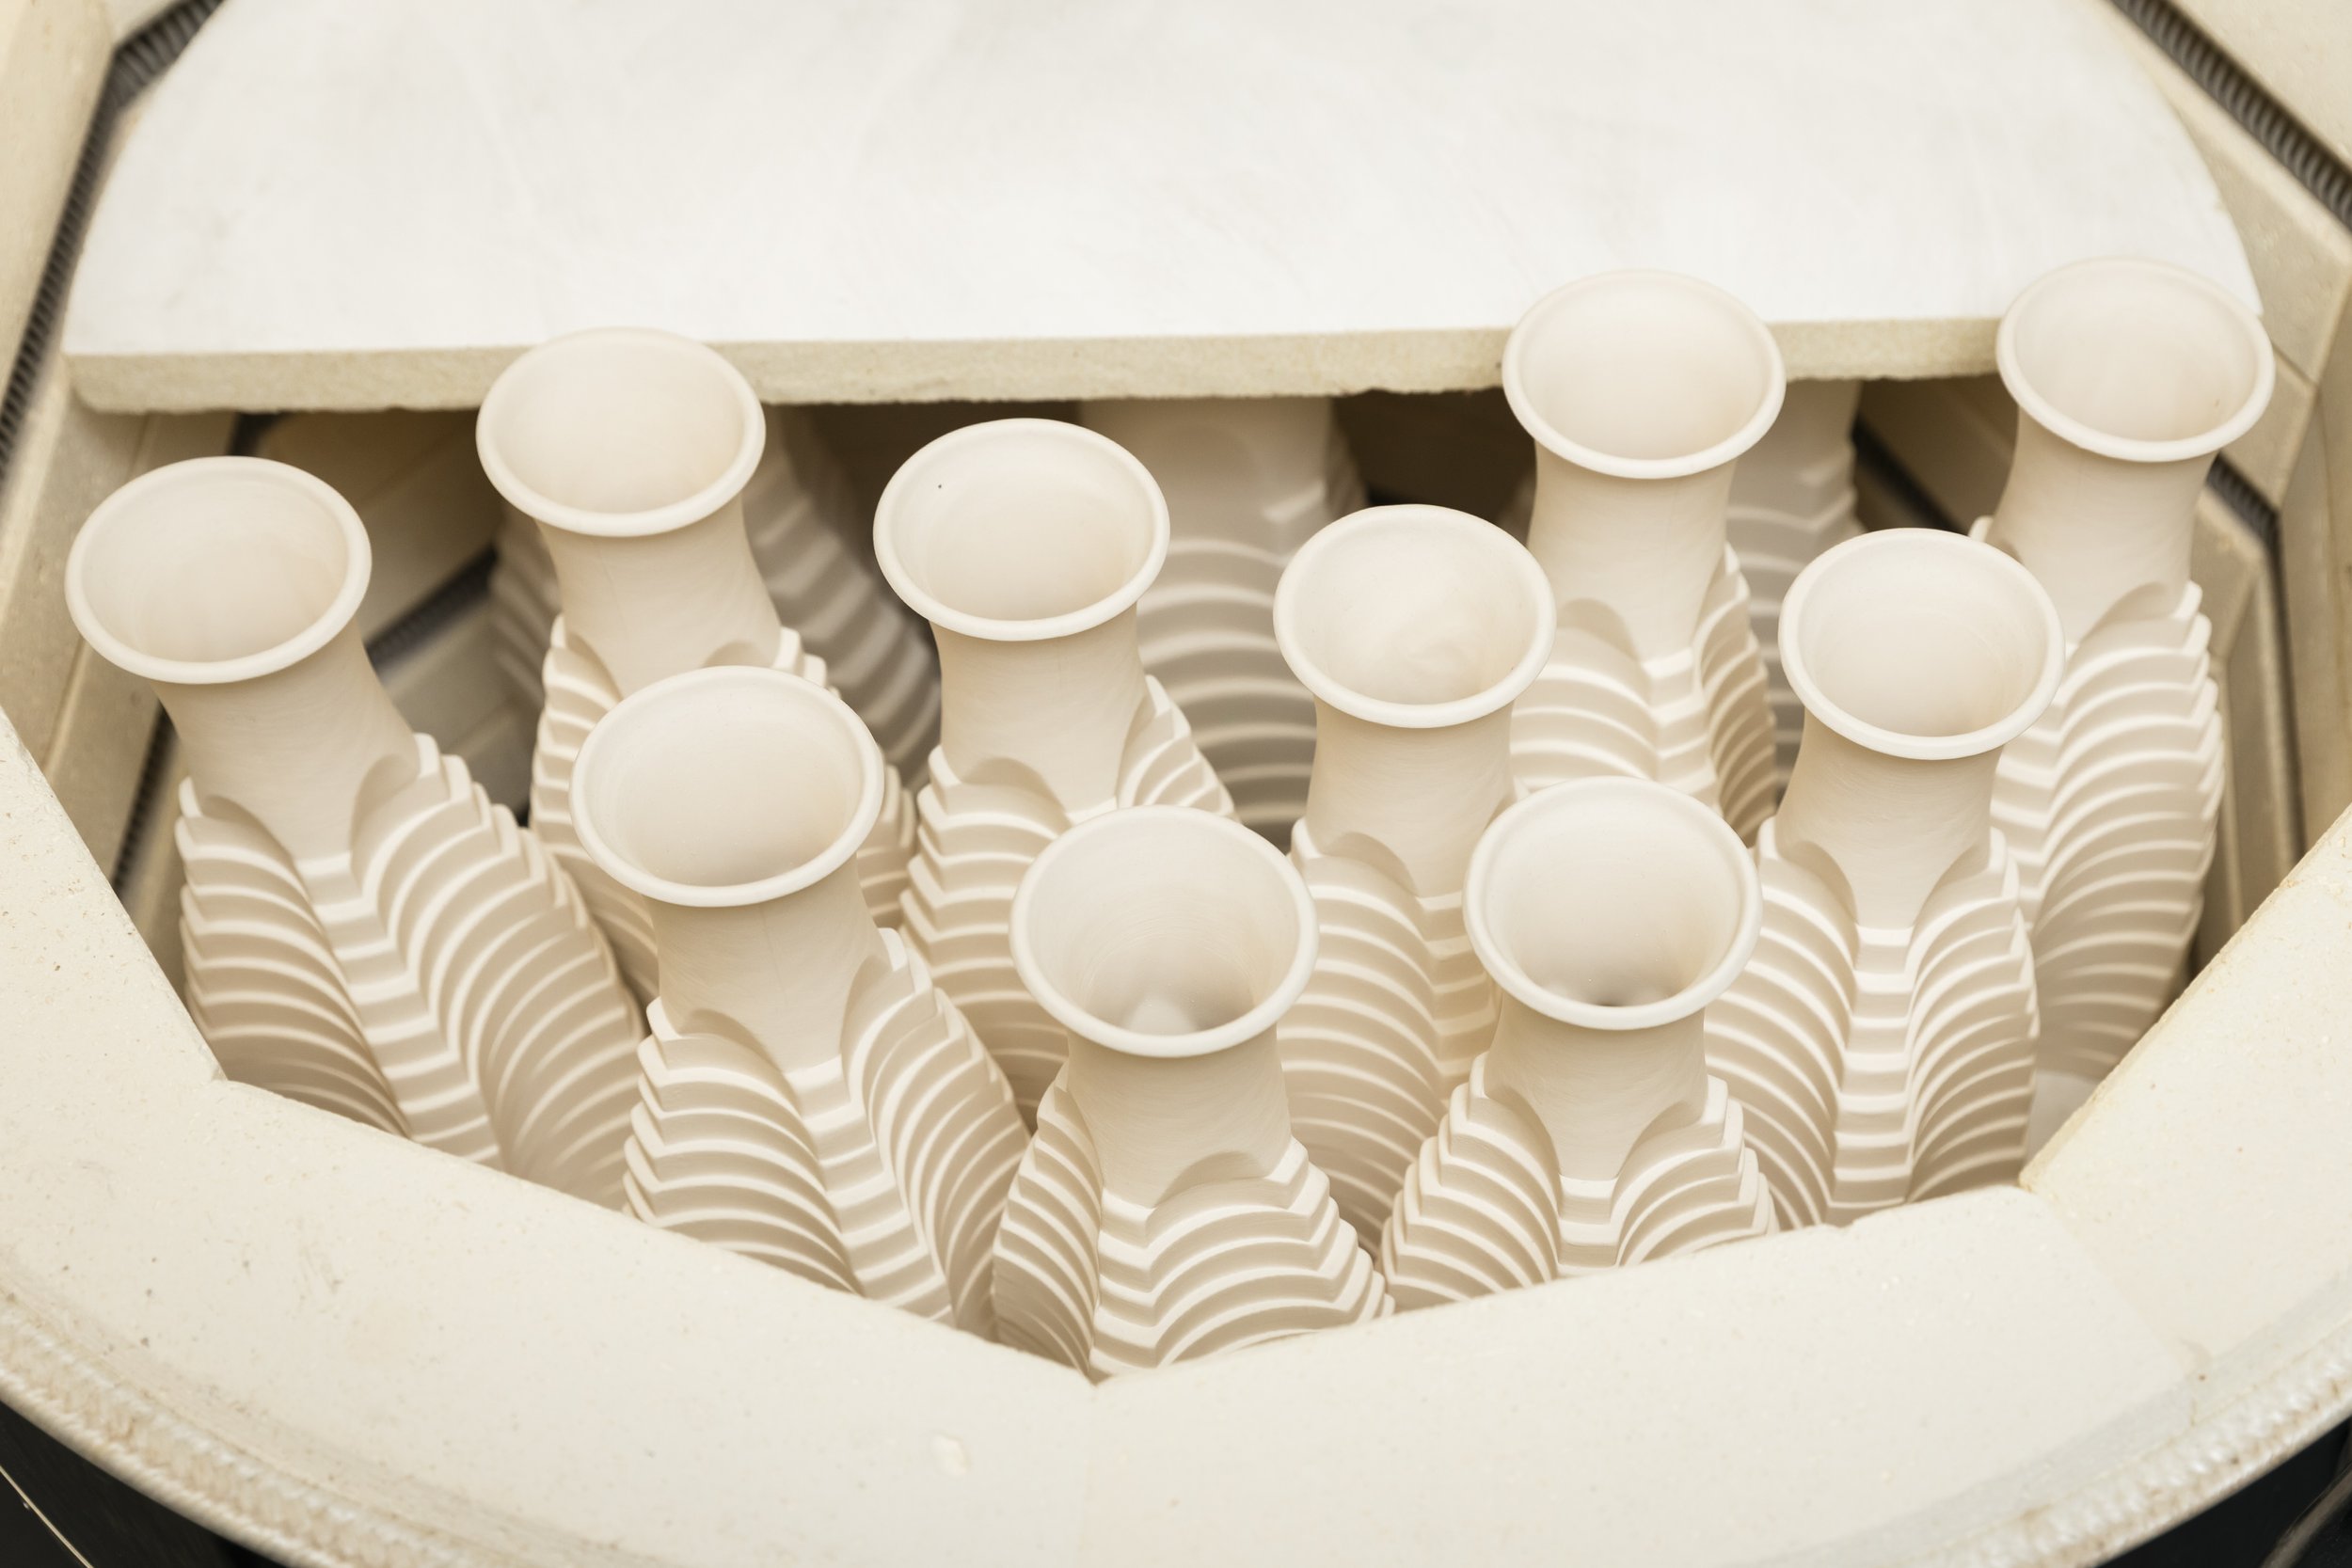
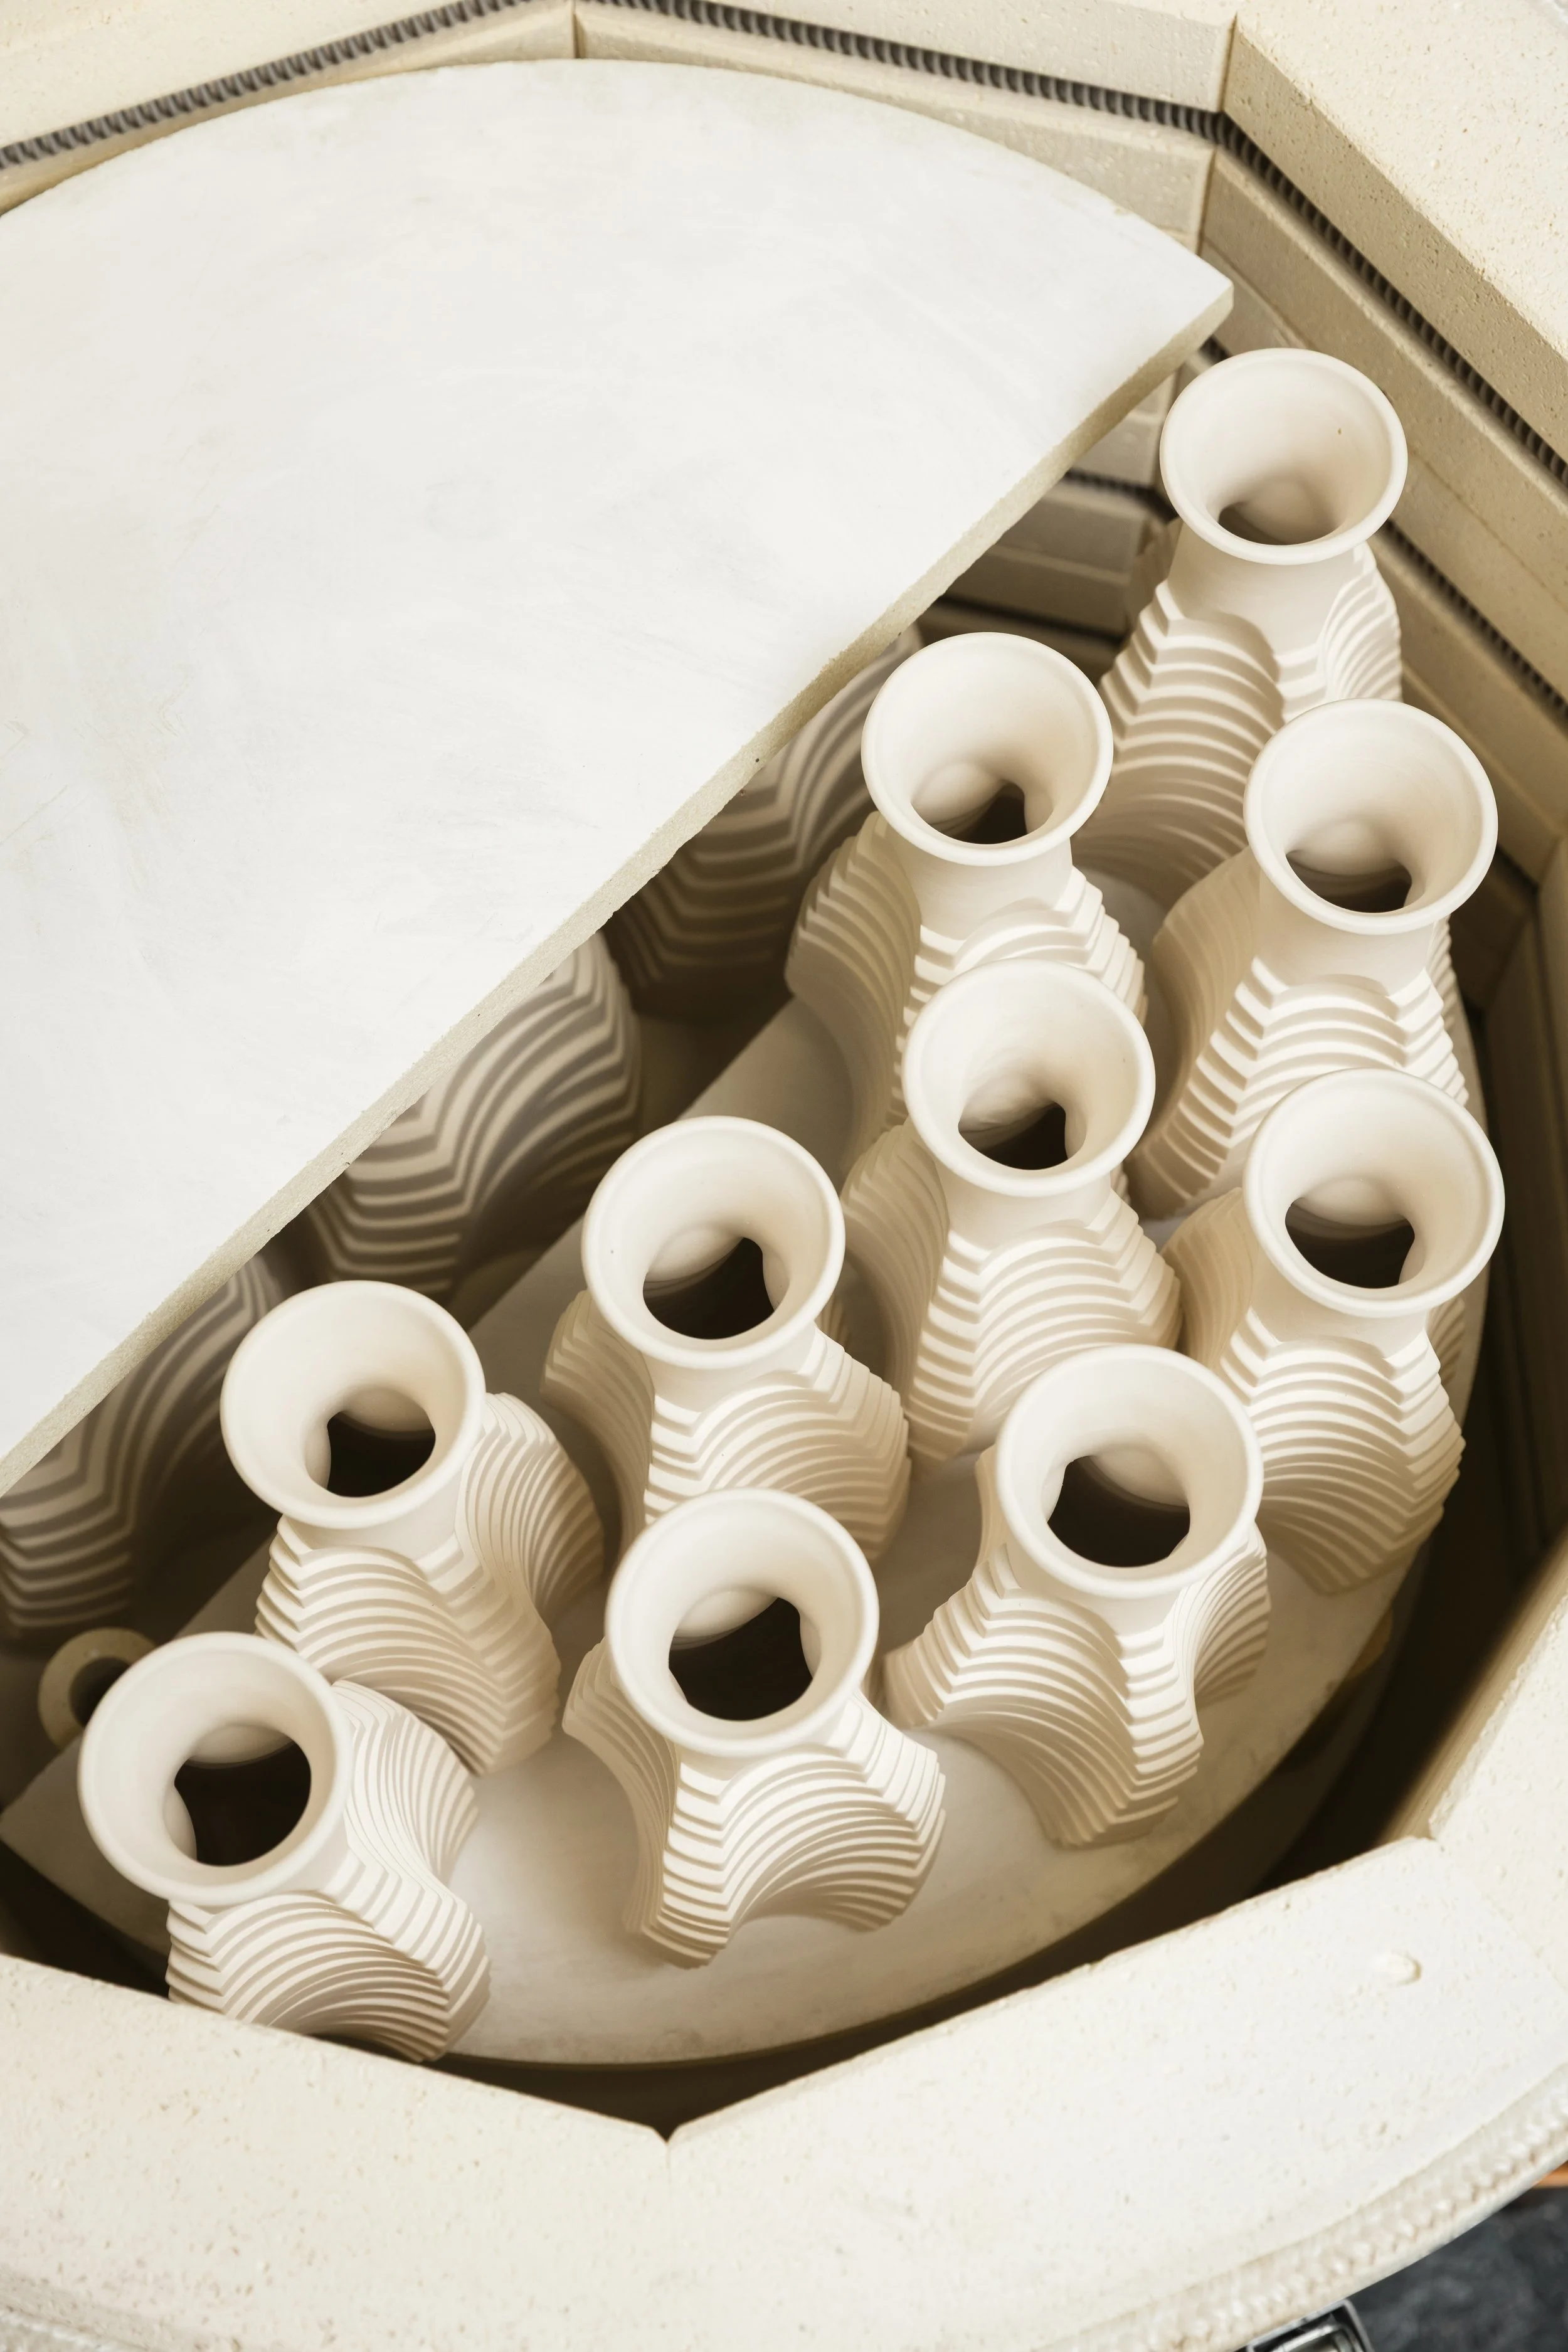
7. Bisque Firing
Once completely dry, pieces are loaded into the kiln for their first firing — the bisque. This process hardens the clay, preparing it for glazing and finishing.
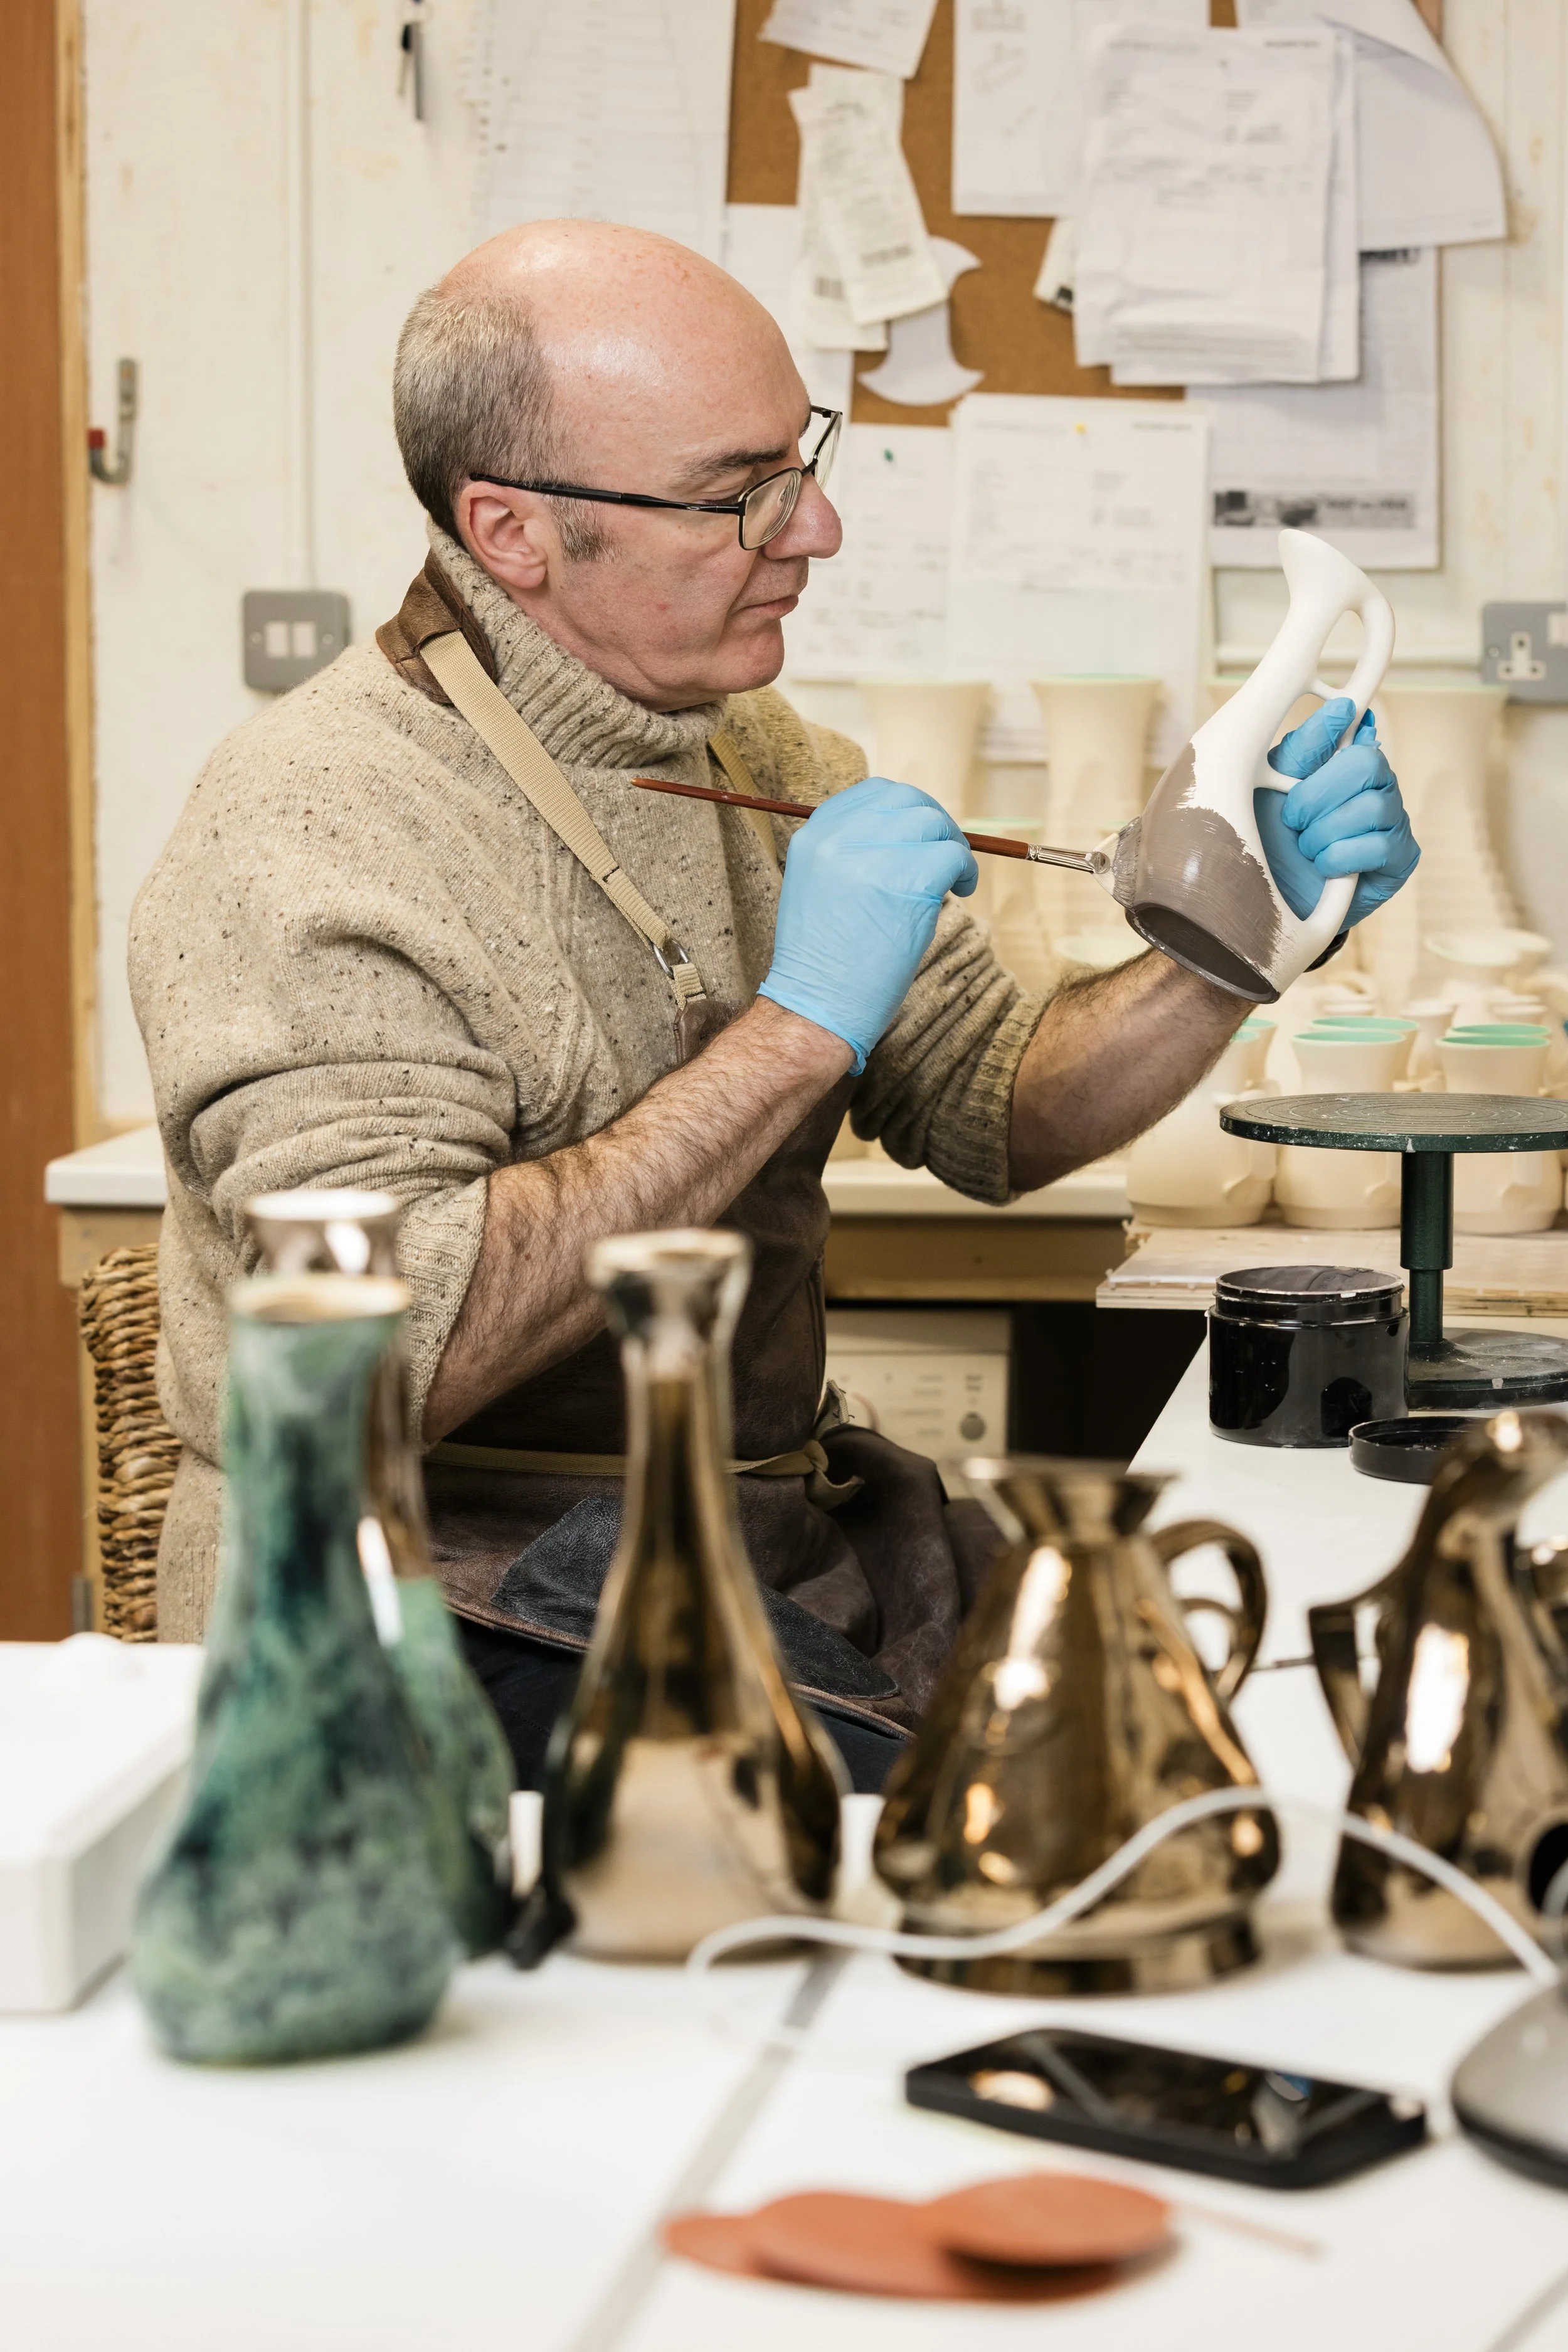
8. Glazing
Glaze is applied internally and externally, producing the surface chemistry required for the final firing.
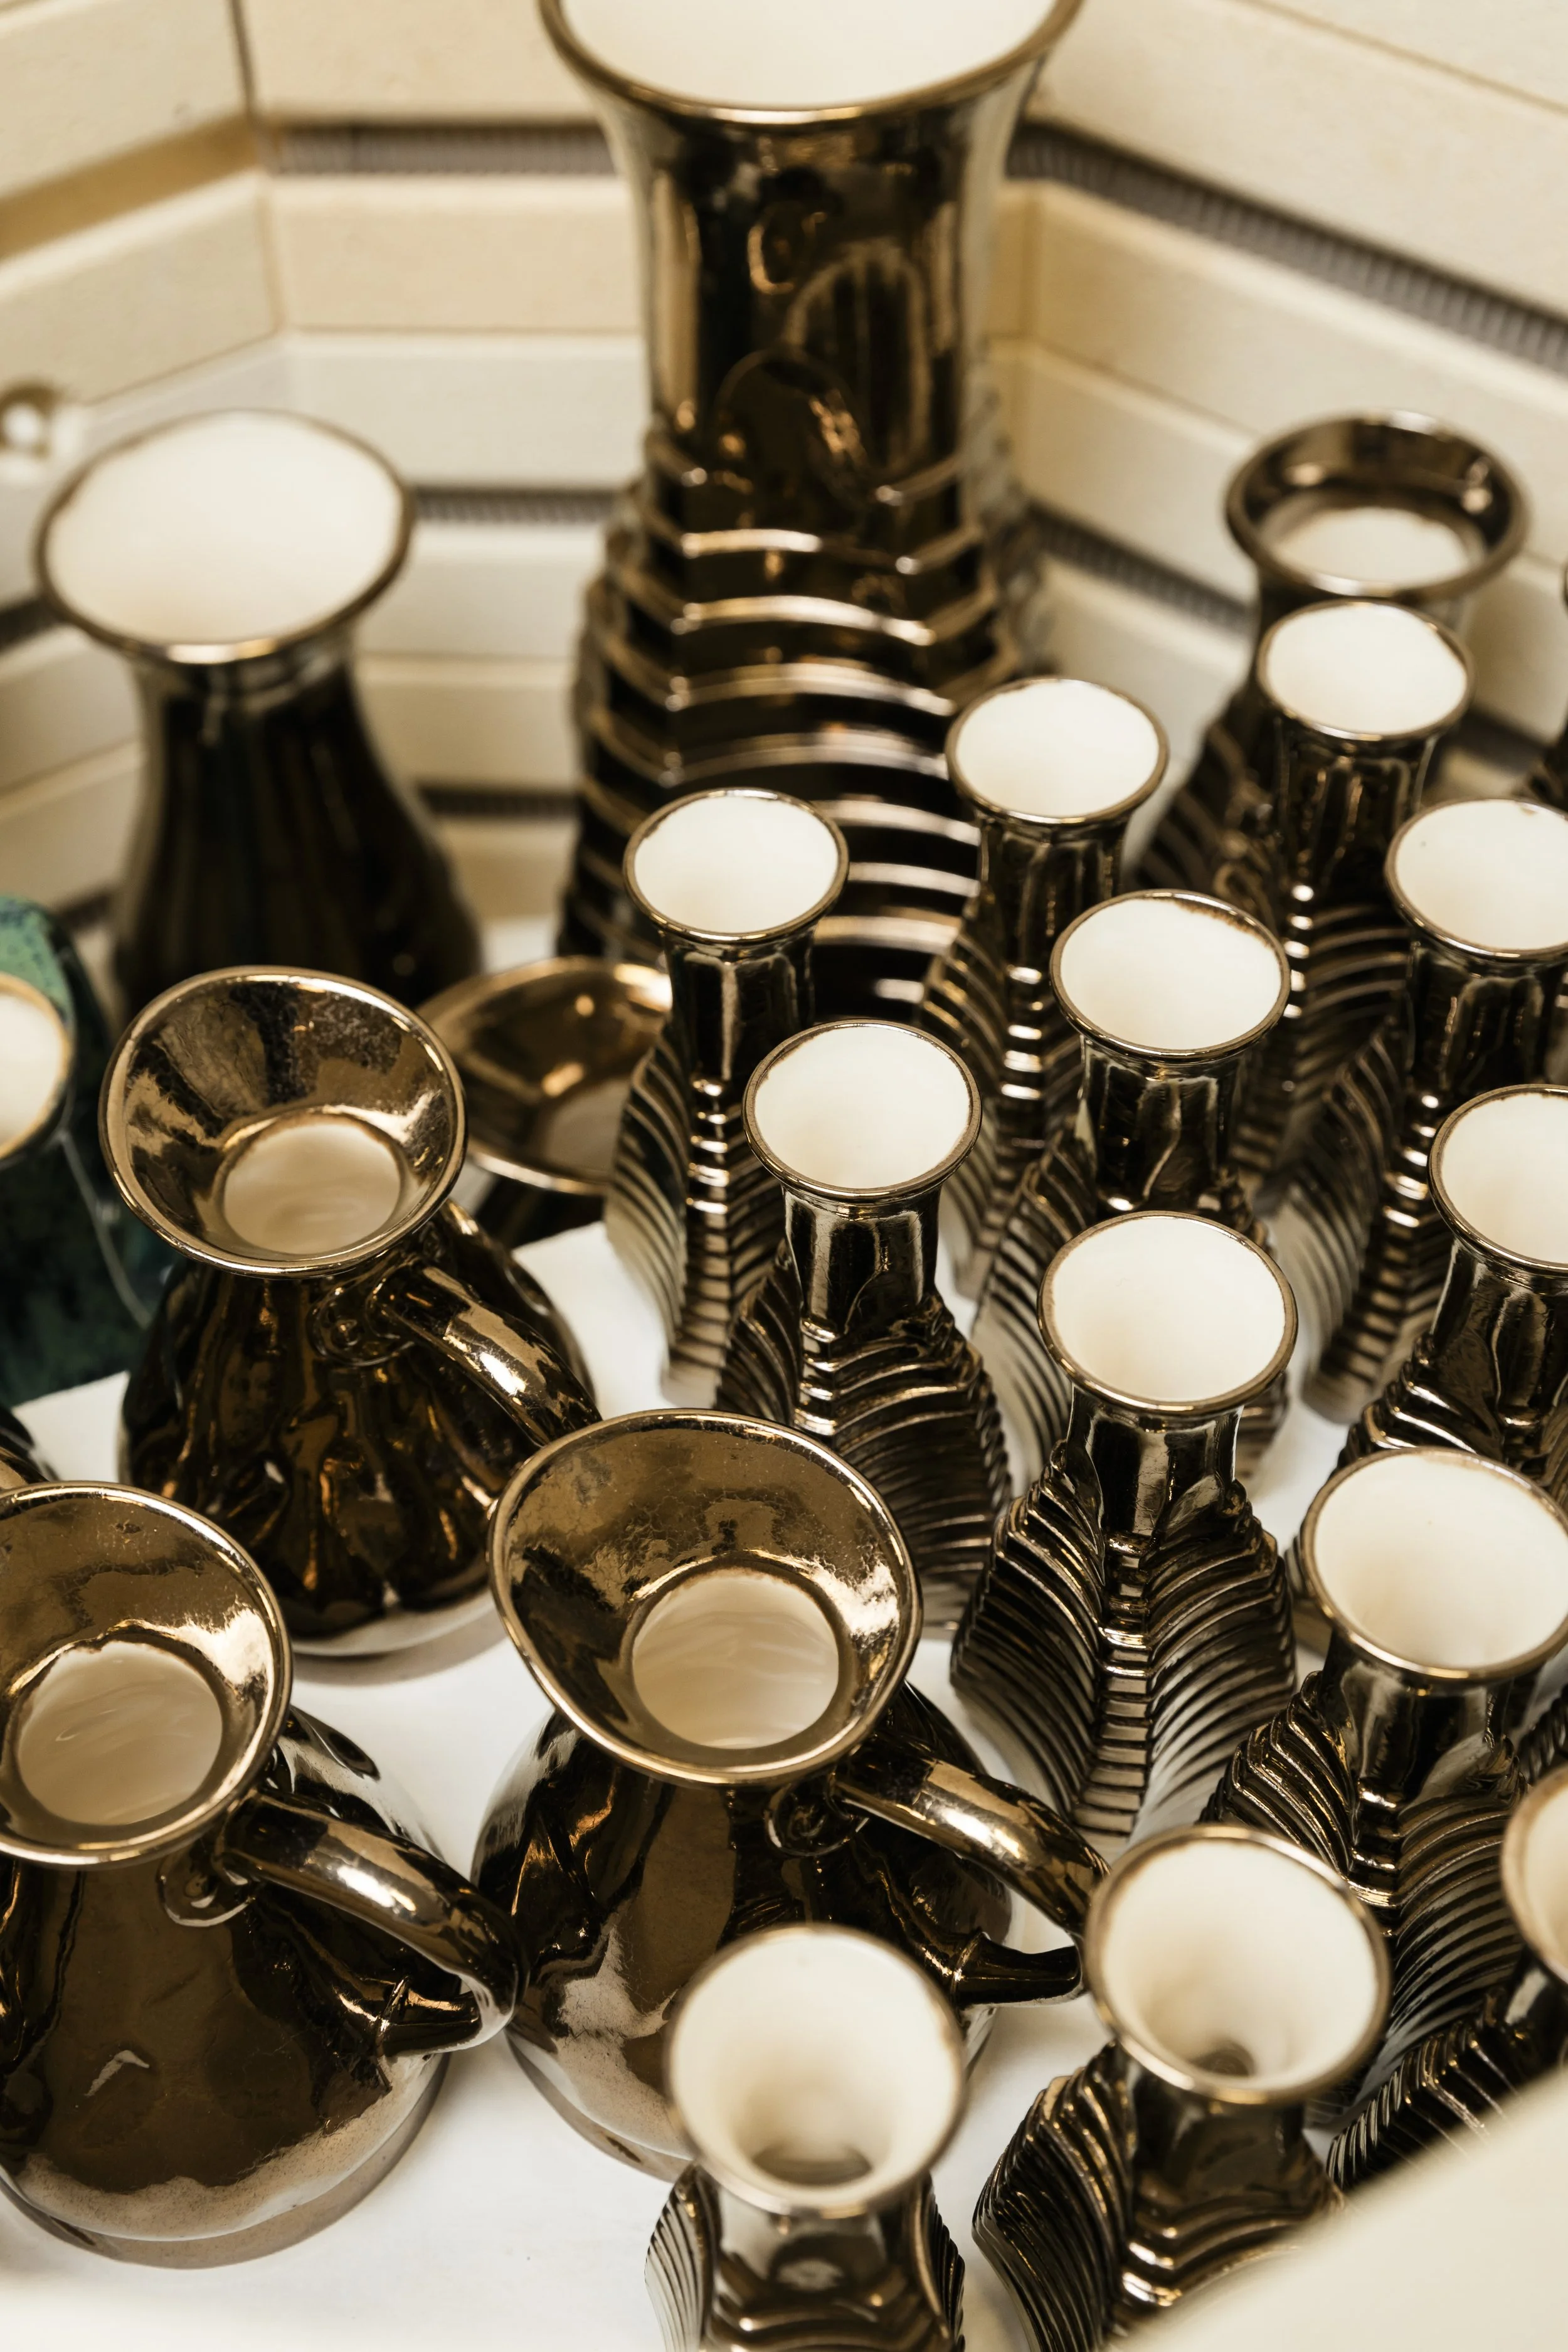
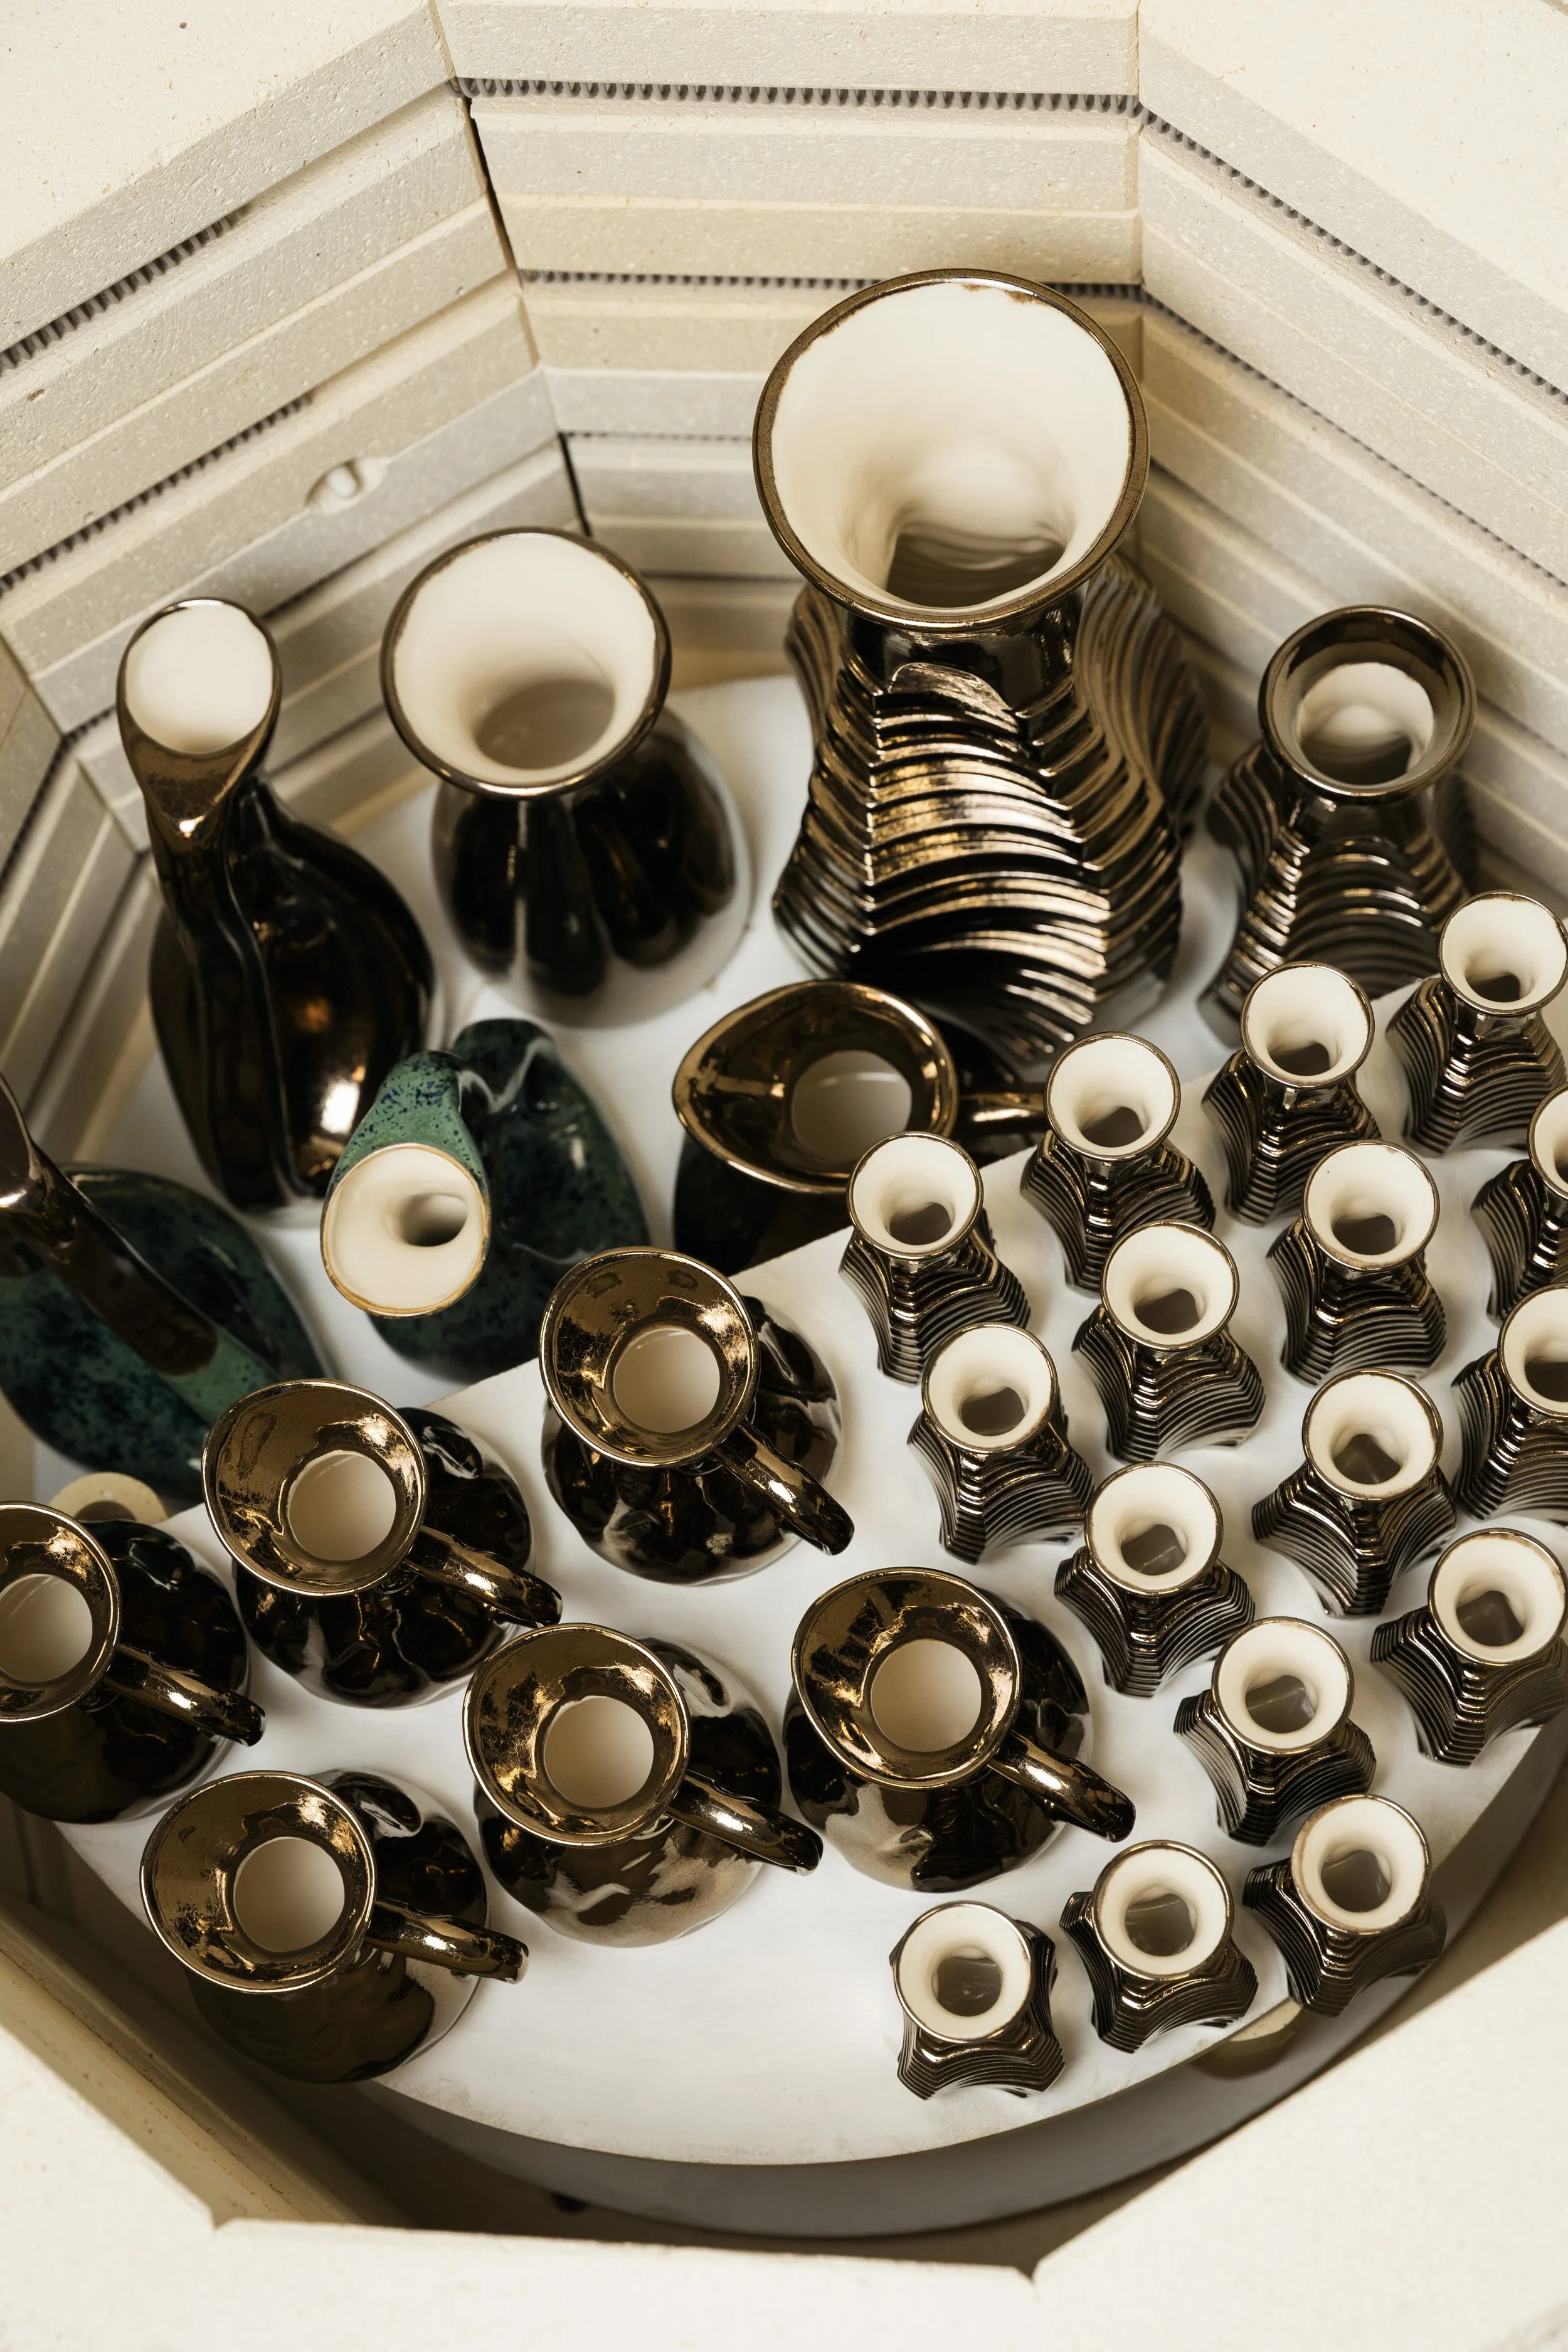
9. Glaze Firing
In the second firing, the glaze vitrifies — sealing the surface and revealing its true tone and finish. Every firing produces subtle variations that make each piece unique.
10. Quality Review
After cooling, each piece is inspected for glaze consistency, form accuracy, and overall finish.